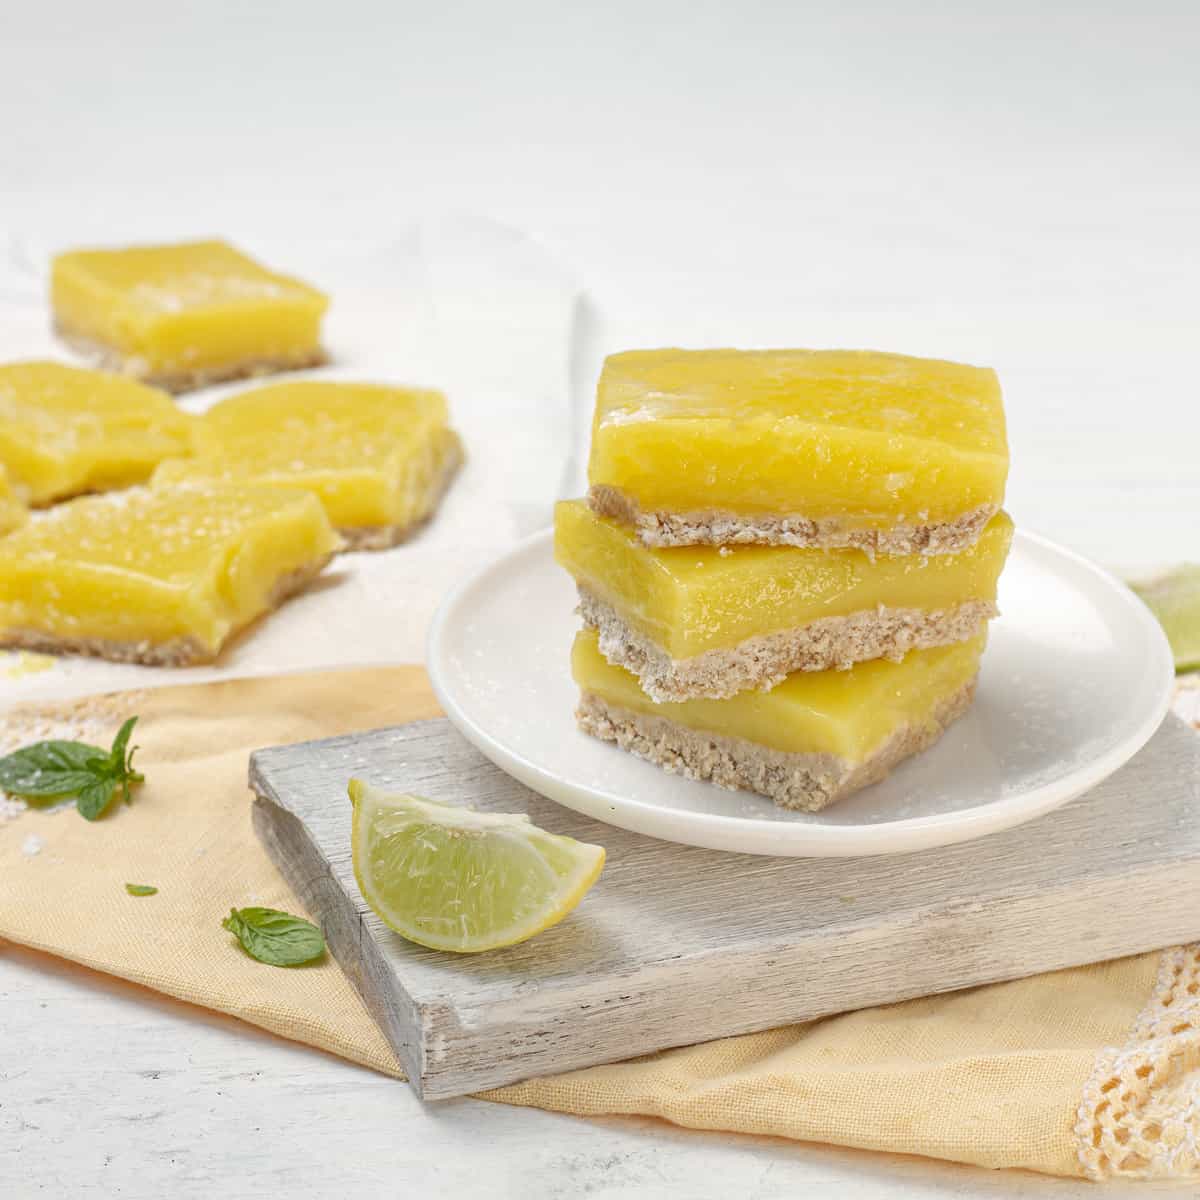
Lemon bars often transport many of us back to childhood, evoking memories of Grandma’s cherished recipes. Back then, sugar wasn’t a concern, but as we grow older and wiser, we revisit these classics only to find out that the filling alone contains a whopping three cups of sugar! While undeniably delicious, just a small piece can pack quite a sugary punch. So, I took it upon myself to recreate this beloved treat using healthier ingredients.
For the crust, I opted for oat flour, stevia, and coconut cream, imparting an exquisite flavor and achieving a golden, crispy base. Now, when it comes to the filling and its endless cups of sugar, the truth is, the only essential ingredient here is the lemon juice. For the rest, we’ll use lemon juice, lemon zest, stevia, a bit of tapioca starch, and, of course, eggs.
Lemon bars are typically dusted with powdered sugar on top, which could be done with stevia. However, pure stevia alone may not yield the most pleasant taste, so I prefer to omit it or occasionally indulge a bit by using regular sugar.
Keep reading for this revamped Lemon Bars recipe that preserves the cherished flavors while making it a more mindful indulgence.
Why you should try this recipe
This Lemon Bars recipe not only evokes the cherished flavors of childhood but also offers a mindful approach to ingredients. Unlike traditional lemon bars, which can be laden with sugar, this version provides a reduced-sugar alternative, allowing you to indulge guilt-free with just 3 Weight Watchers points.
The crust, crafted from oat flour, stevia, and coconut cream, forms a wholesome base with a golden, crispy texture. The lemon bar filling retains its zesty charm, featuring fresh lemon juice and lemon zest, complemented by tapioca starch for consistency and eggs for that classic texture. For those who desire the familiar finishing touch, a light dusting of traditional powdered sugar is optional. This recipe offers a delectable way to pamper yourself while making healthier choices.
Ingredients:
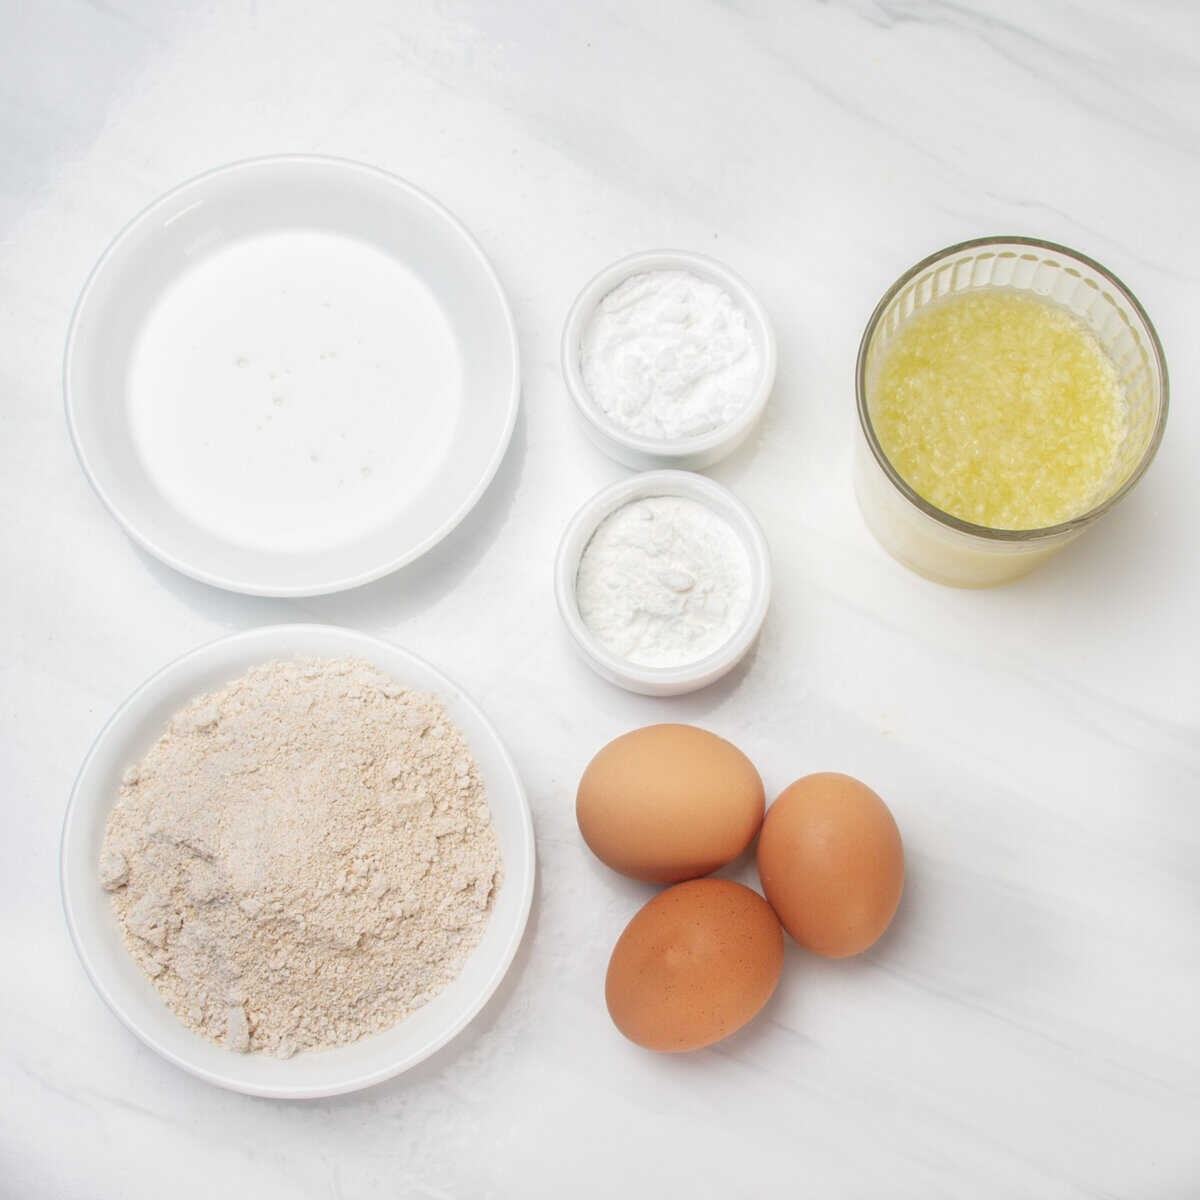
For the Crust:
- 1 (120 g.) cup oat flour
- ¼ (24 g.) cup stevia
- ¼ (60 g.) cup coconut cream
For the Filling:
- 1 cup fresh lemon juice
- Zest from 2 lemons
- ½ (48 g.) cup stevia
- 2 tablespoons tapioca starch
- 3 eggs
Optional:
- Powdered sugar or stevia for dusting
Instructions for Making Lemon Bars:
- Preheat your oven to 350°F (175°C) and line an 8×8-inch (20×20 cm) baking pan with parchment paper or use a silicone baking mat.
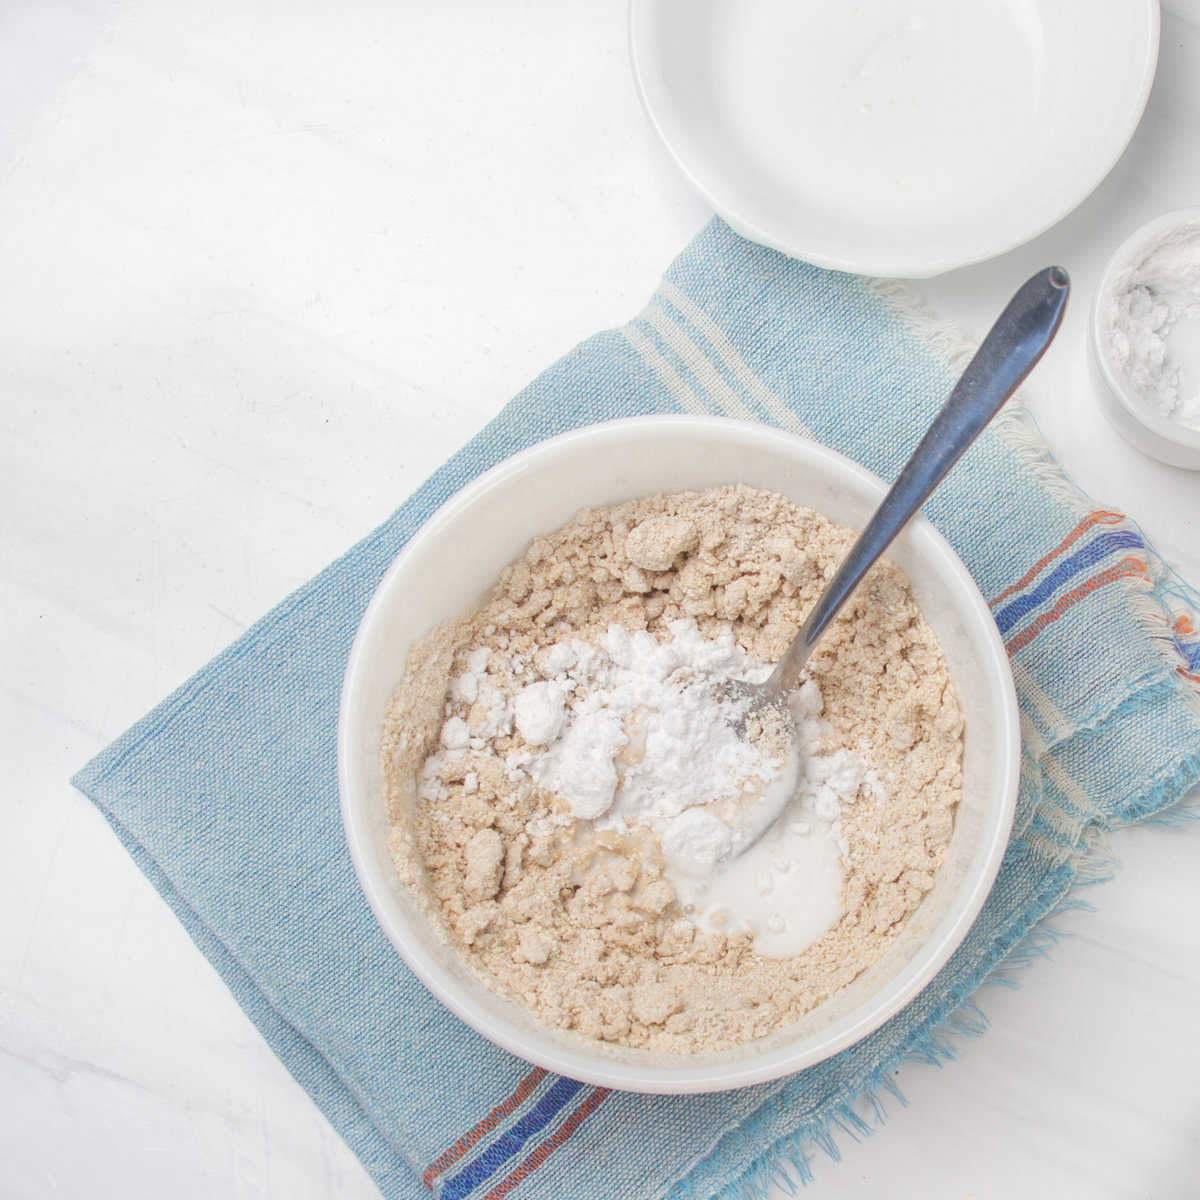
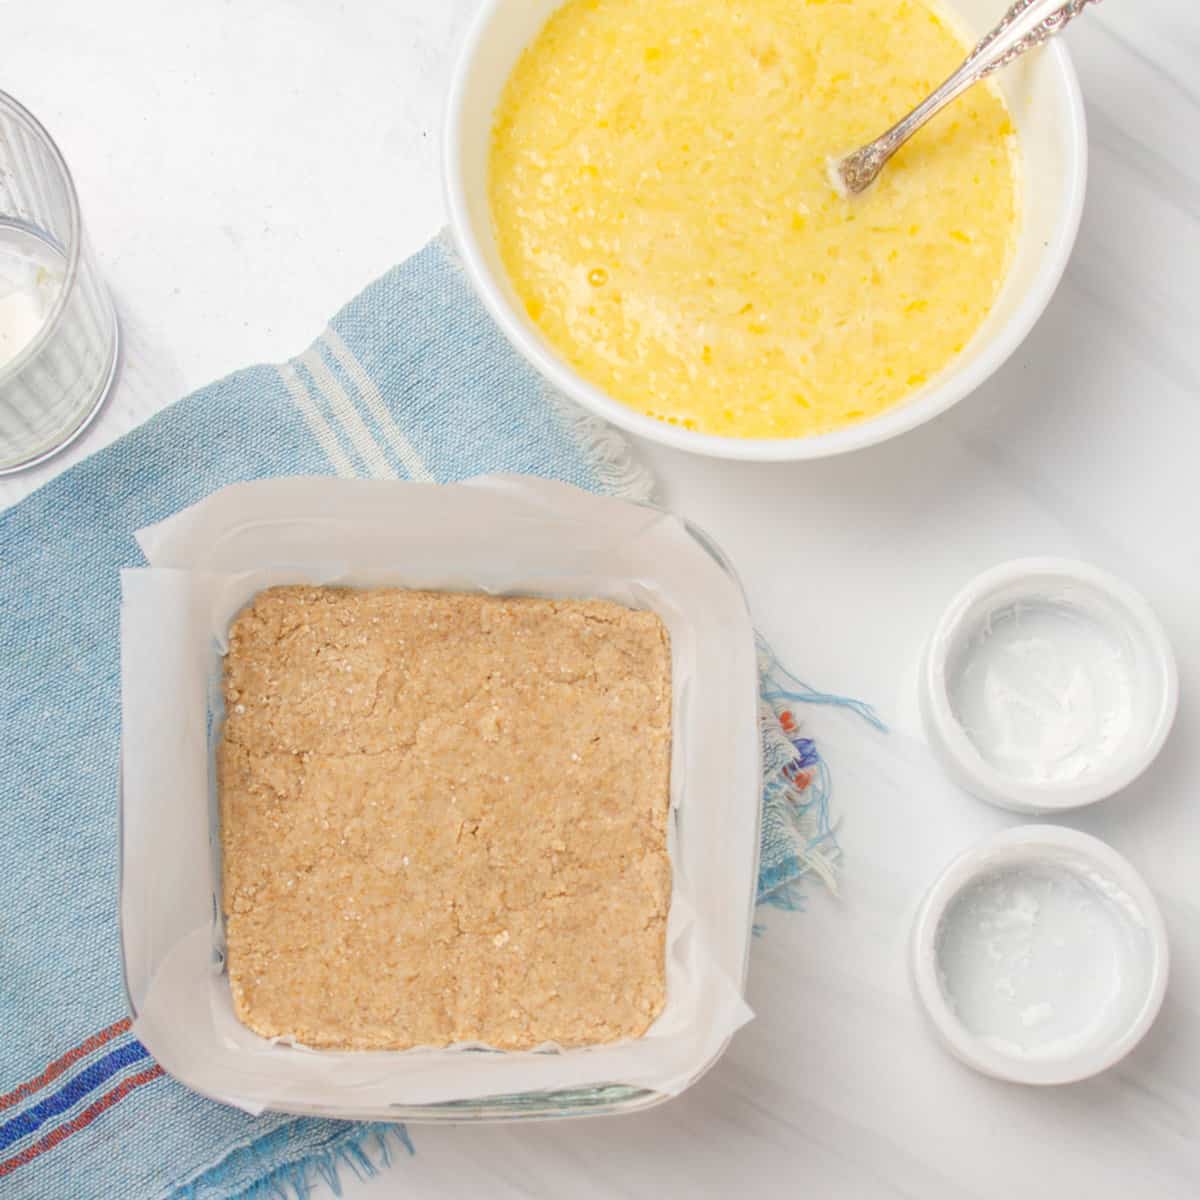
- In a mixing bowl, combine the oat flour, stevia, and coconut cream. Press this mixture evenly into the bottom of the prepared baking pan. Bake the crust for about 10 minutes or until it turns lightly golden. Remove from the oven and allow it to cool while you prepare the filling.
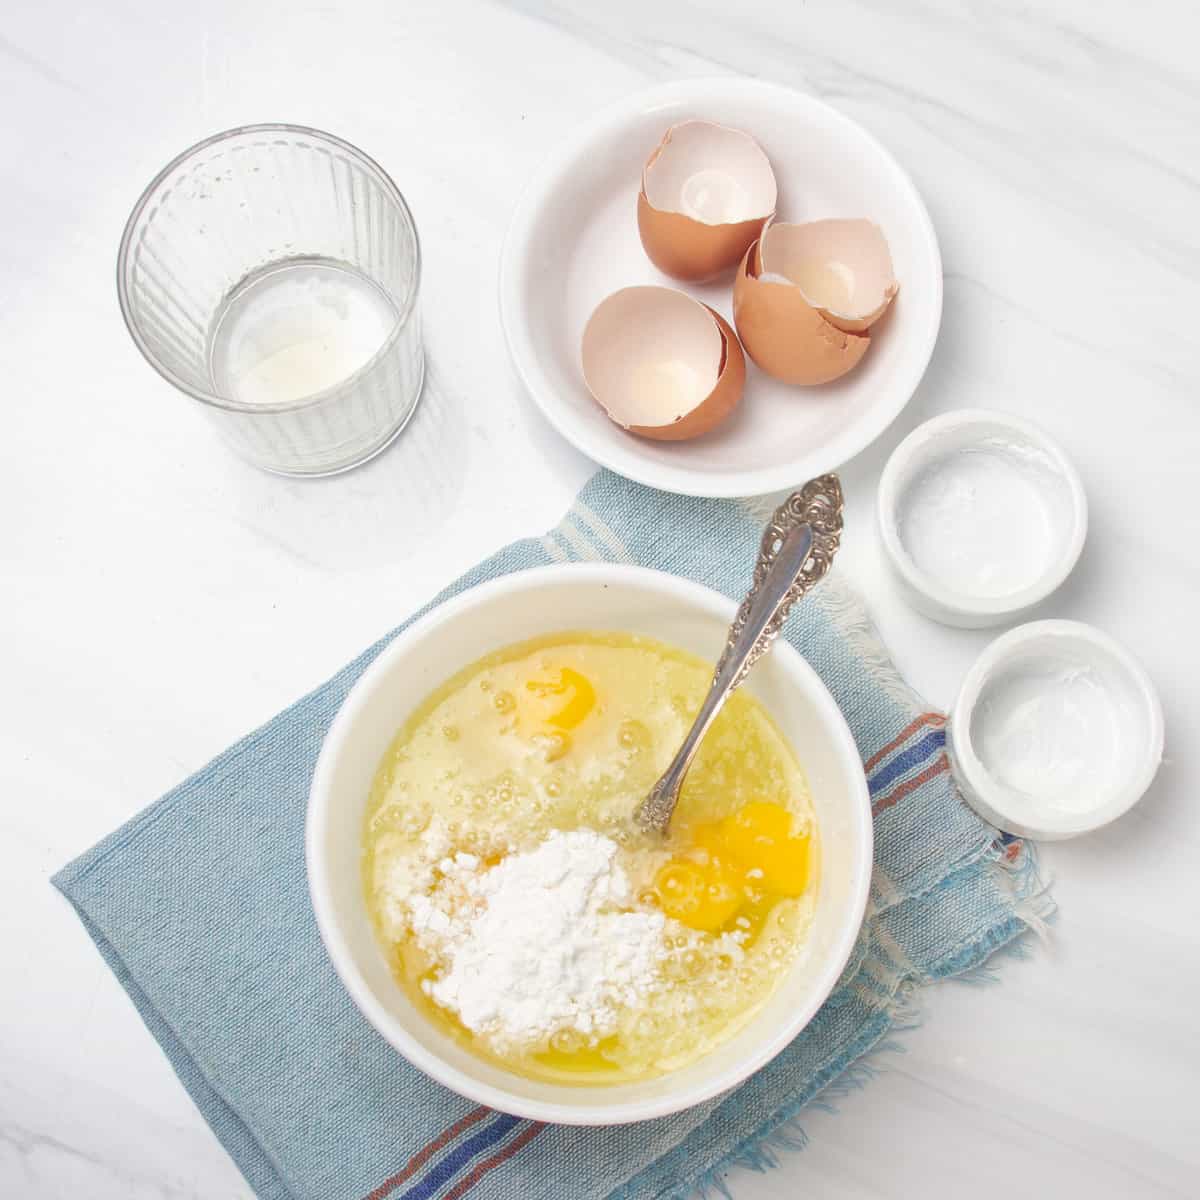
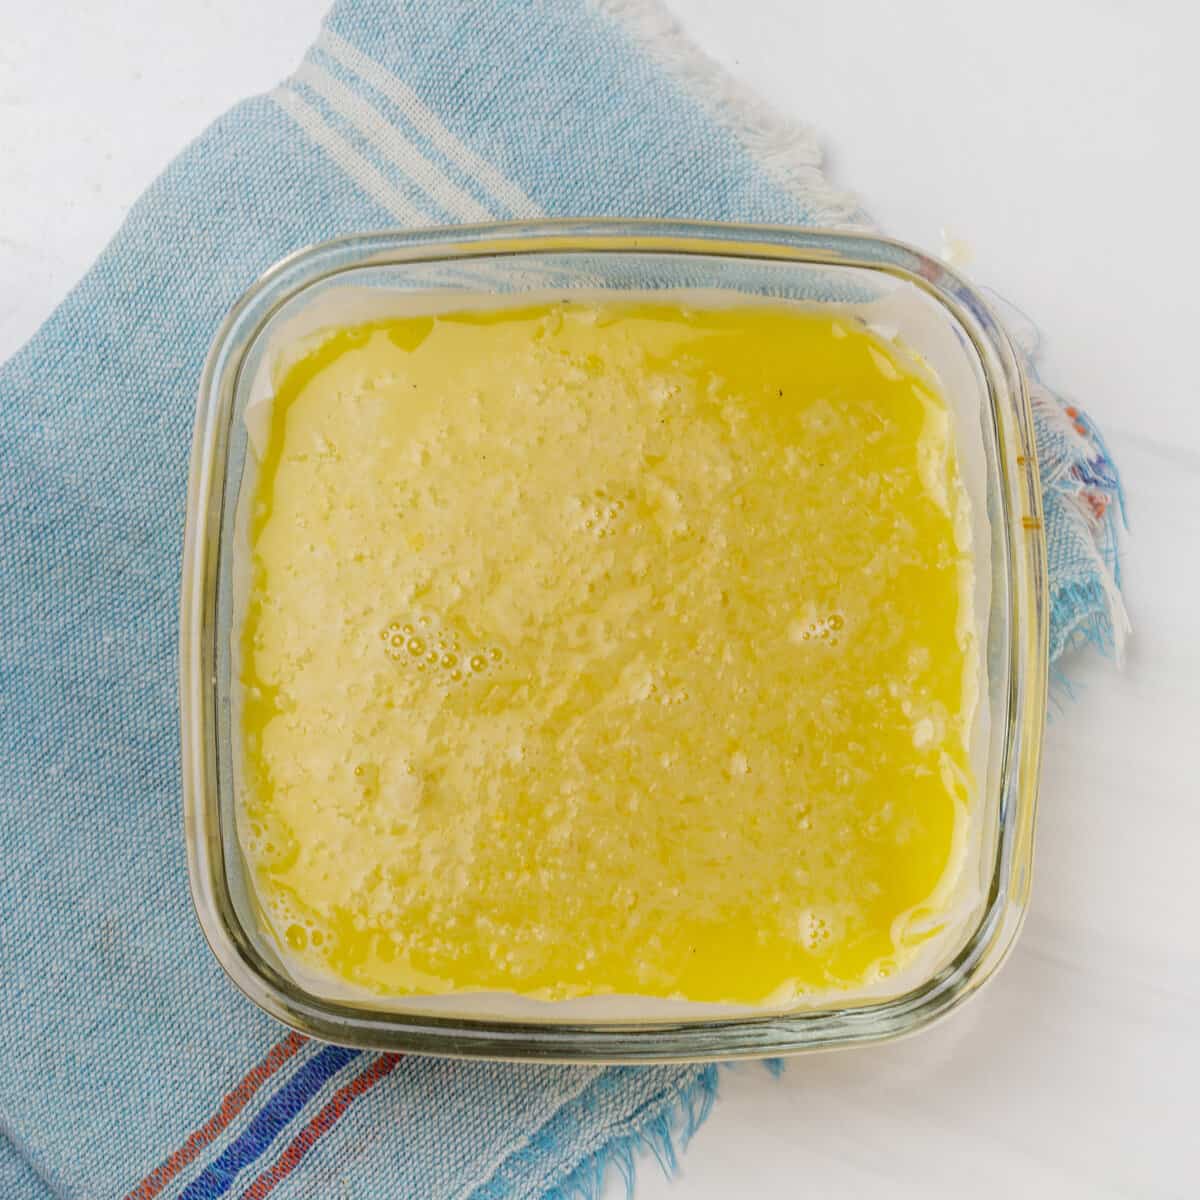
- In another bowl, whisk together the fresh lemon juice, lemon zest, stevia, tapioca starch, and eggs until well combined. Pour this mixture over the baked crust.
- Bake the bars for about 20-25 minutes or until the edges are set, and the center is slightly jiggly.
- Let the Lemon Bars cool completely in the pan, then refrigerate for at least 4 hours or overnight.
- Once fully chilled, you can dust the bars with powdered sugar or stevia if desired. Slice into squares and enjoy!
Variations and substitutions
The Lemon Bars recipe offers a canvas for creative culinary adaptations. One of the classic alterations involves swapping out the lemon filling for other citrus delights. Lime Bars, with their zesty and tangy appeal, are a frequent favorite. Yet, the citrus possibilities don’t end there—orange and passion fruit-based fillings are highly renowned on the table. For those on a quest for conscious eating, a common modification is the substitution of traditional wheat flour. Oat flour, almond flour, or coconut flour often step in as alternatives. Some even blend these flours for a harmonious mix. These adjustments allow Lemon Bars to cater to various dietary preferences and expand the horizons of this beloved dessert.
Tips and Tricks Section for Making Lemon Bars
1. Parchment Paper or Silicone Mat: The use of parchment paper or a silicone baking mat is absolutely essential in this recipe to prevent sticking. While silicone mats work well, parchment paper ensures easy removal without any risk of breaking the bars during unmolding.
2. Lightly Toast the Crust: Toasting the crust base for a brief period before adding the filling can enhance its flavor and create a delightful contrast in texture. Don’t worry; it will rehydrate once you pour in the filling.
3. Fresh Lemon Juice: For the best flavor, opt for fresh lemon juice rather than bottled lemon juice. The zesty, vibrant taste of fresh lemons elevates the overall quality of your Lemon Bars.
4. Citrus Zest: Incorporate citrus zest into the mix to infuse the bars with aromatic citrus notes. You can choose from lemon, lime, or orange zest to add a burst of flavor.
5. Proper Cooling Time: Allow your Lemon Bars to cool adequately, ideally for a minimum of 4 hours or overnight. This ensures that they set properly and develop their signature creamy texture.
By following these tricks, you can create Lemon Bars that are not only delicious but also visually appealing and easy to handle.
Related Recipes
Lemon Bars

Ingredients
For the Crust
- 1 120 g. cup oat flour
- ¼ 24 g. cup stevia
- ¼ 60 g. cup coconut cream
For the Filling
- 1 cup fresh lemon juice
- Zest from 2 lemons
- ½ 48 g. cup stevia
- 2 tablespoons tapioca starch
- 3 eggs
Optional
- Powdered sugar or stevia for dusting
Instructions
- Preheat your oven to 350°F (175°C) and line an 8×8-inch (20×20 cm) baking pan with parchment paper or use a silicone baking mat.
- In a mixing bowl, combine the oat flour, stevia, and coconut cream. Press this mixture evenly into the bottom of the prepared baking pan. Bake the crust for about 10 minutes or until it turns lightly golden. Remove from the oven and allow it to cool while you prepare the filling.
- In another bowl, whisk together the fresh lemon juice, lemon zest, stevia, tapioca starch, and eggs until well combined. Pour this mixture over the baked crust.
- Bake the bars for about 20-25 minutes or until the edges are set, and the center is slightly jiggly.
- Let the Lemon Bars cool completely in the pan, then refrigerate for at least 4 hours or overnight.
- Once fully chilled, you can dust the bars with powdered sugar or stevia if desired. Slice into squares and enjoy!
Notes
Nutrition
Nutrition information is automatically calculated, so should only be used as an approximation.

