You don’t have to be in a pit barbeque competition to take advantage of great smokers and smoking skills. Heck, Alton Brown built a smoker with a hot plate and a cardboard box. A smoker doesn’t need to be fancy. It does have to hold smoke and the food.
When I was cooking professionally, we used smokers. We did something different, though. We made them cold smokers. The challenge was to keep them cold with the heating element inside the box. Enter lots and lots of ice.
We would place sheet pans of ice in the smoker to keep it cool. The advantage of cold smoking is you can achieve a high smoke level on the food without cooking it. Smoked salmon is also a cold smoked item that has benefited from a cure, not heat, to transform the protein. One of those smokers was rigged out from a catering sheet pan box called a CresCor. The other was already a smoker pressed into cold smoking.
I haven’t outfitted my Masterbuilt smoker for cold smoke. Yet. They offer a cold smoke assembly kit. I’m a bit keen on trying my engineering skills and rigging my own. That detail aside, here are some pointers and tips about a Masterbuilt smoker.
1) Get it off the ground at least a few inches.
I live in a snow area. In July that’s not an issue. In January it is since the snow may accumulate at the base. As my unit stands, the 30-inch digital electric smoker, had adjustable feet and they are very short. Less than an inch. One big concern is snow covering the door. Easy enough to move except the water and metal of the screws on the footrests may rust. My smoker rests on a pallet.
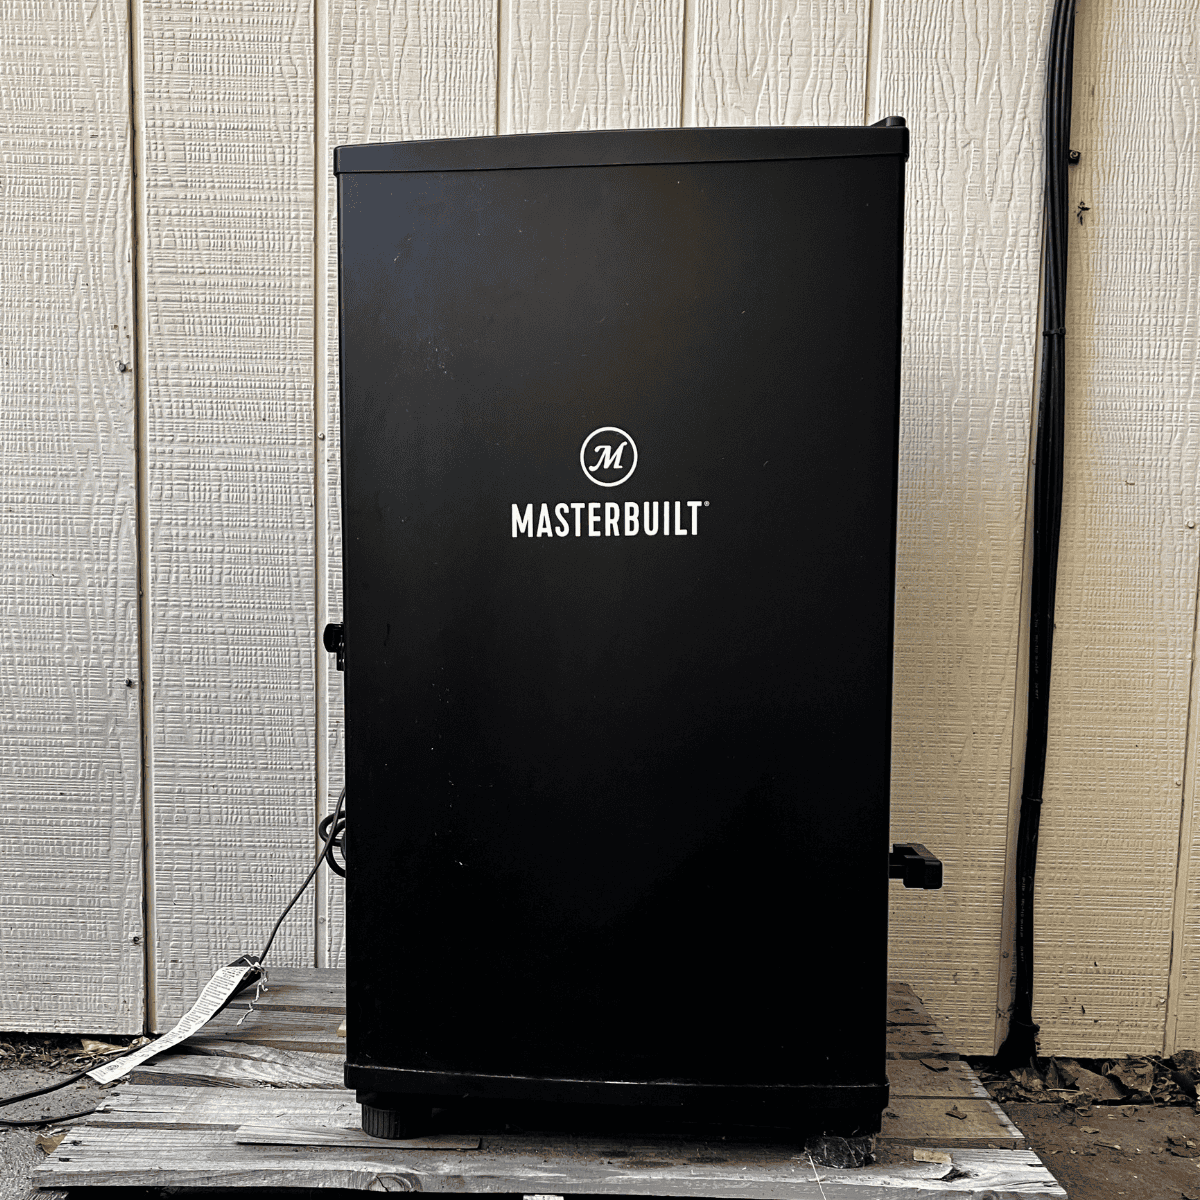
That small height keeps it out of the snow. Those three inches extra also make loading the woodchips into the smoker a bit easier. The bend is not quite as far.
Masterbuilt offers a riser made of black metal to match the smoker. The riser adds 10 inches to the bottom and the back two legs of the riser have wheels. I don’t move my smoker. I do see how the wheels could be a benefit for folks who do need to cart it away when not using it.
2) Digital or analog?
It seems everything electronic has pushbuttons these days. Oh, sure, they are sleek and flush and they look great. The first time you have to set the smoker to 250° F and push push push push the button the allure goes away. Maybe your button will let you hold until you reach the desired temperature.
My cynicism, not intended to be hidden, rests in the detail that when moisture gets behind the plastic sticker on the control panel, the ease of setting is frustrated by controls that do not respond.
That’s the case with my smoker. I can feel the button below the exact spot on the sticker. I can push that button and nothing happens. Eventually, it does. Until it does not, which hasn’t happened yet.
My stove is the same and in both cases, all I want is a dial. I’m familiar with dials. One fluid wrist motion and the temp I want is set.
Masterbuilt does offer this analog smoker which includes a traditional thermometer on the front door. The electric version reads the internal temperature on the control panel.
Their analog smoker plug resembles one from an electric skillet or griddle. The temperature setting is a dial on the business end of the cord which plugs into the unit. In both cases, the highest temperature is 275° F.
Electric or analog is entirely a preference. The electric allows you to set a timer which will turn off the unit. The analog does not.
3) Does water help with the cooking of the meat?
Masterbuilt smokers include a water pan. The idea is simple: add some water to your smoker while it smokes to add moisture. It is at this simple point we see the smokemaster divide.
Does water keep the meat moist? Maybe. Also, maybe not.
One issue with fatty meat is the water vapor can cause the fat to run off the meat instead of soak into the meat. That assumes the fat actually does penetrate the meat in the one to two seconds it runs along the surface before dripping off.
That scenario, liquidized fat permeating the meat before gravity takes it away, is why basting with the water-based pan drippings doesn’t work. Basting with fat, like 3-star Michelin chefs do with butter on pan-seared steaks can help form a better crust and enhance flavor. That is good, but not what we face in our smokers.
I have always been a no-water smoker. I didn’t use water because I never used water in professional kitchens.
For this article, I smoked a tri-tip with water.
The meat was smokier than without water. The thinking is the steam sticks to the meat allowing the smoke to stick to the meat.
Purists will argue, maybe not incorrectly, that the presence of steam makes it a steamer, not a smoker. A valid complaint except meat itself has water and it evaporates during cooking. Perhaps the issue is added water.
I’ve been through some smoker forums and there is a passionate divide between the two camps, water or no water.
What works best for tri-tip may not work well for turkey. I haven’t tried that yet, so I don’t know. What is clear is testing and challenging conventional wisdom might give you the answer you can use.
The right answer is the process that gets you the best finished product you can make with an audience who appreciates the efforts.
4) Adding bricks to your smoker can help stabilize the heat.
Smokers will attempt to keep a steady temperature. That’s useful and necessary.
One argument for water is the steadying effect a few pints of water can have on regulating the temperature. Water in the hot environment of the smoker will evaporate and the effect will be reduced to zero.
Bricks, on the other hand, will hold the heat which helps keep a steady temperature, and will not evaporate.
My smoker is insulated. Bricks probably would help. In the cardboard box mentioned at the opening of this article, bricks would certainly be useful.
5) Just because you don’t see smoke doesn’t mean there isn’t any.
Where there’s smoke, there’s fire is an old adage. We don’t want fire in our smokers; we do want smoke. When you add chips to your smoker you’ll see white smoke in short order. Then it tapers off.
In smokers that are also cookers (remember cold smoking does not cook the food), the smoke is flavor. The heat of the element that makes the smoke is also the heat that’s cooking the food. Some smoker designs have moved the smoke device to the side. The principle remains that two things are happening: smoke and heat.
Wood chips that are burning are making smoke. If you have charcoal, or ash, from your wood chips then you are getting smoke.
The smoke master’s challenge is getting the smoke just right. That includes learning to adjust the baffle which controls how much oxygen is in the smoker. Also, the amount of chips will impact the amount of smoke.
The basics are easy. Get heat and smoke and cook your food. The nuance is thrilling since there’s always some more to learn to go from good to great.
6) Masterbuilt can only accept wood chips
The vertical, cabinet-style Masterbuilt smokers are designed for wood chips, not pellets.
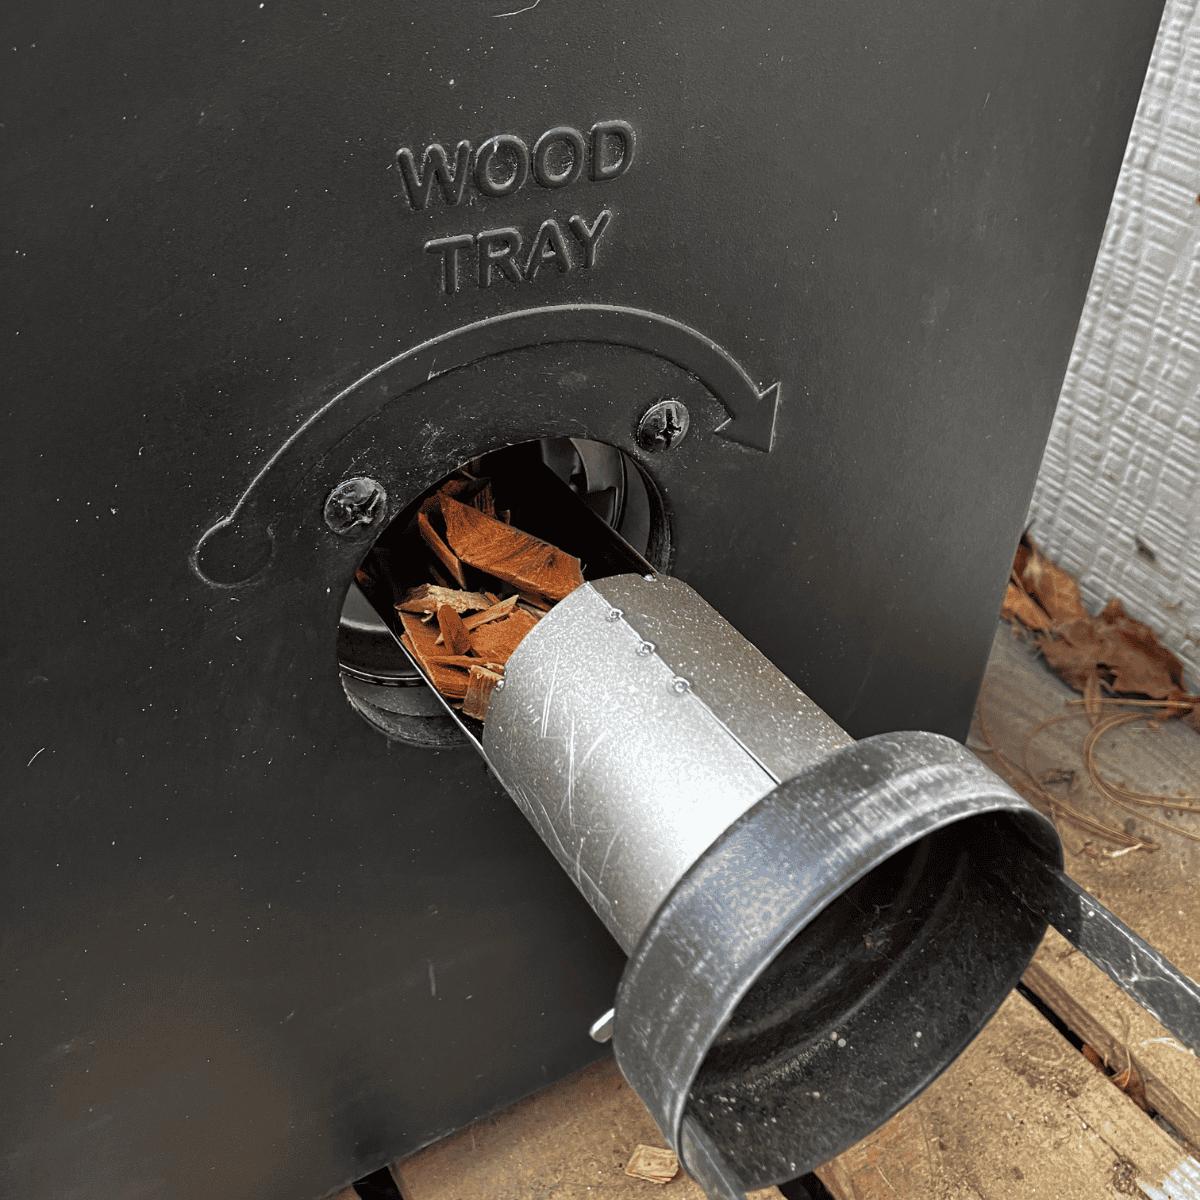
Crafy smokermasters with access to fruit orchards may find ways to get apple or cherry wood, chip them, and season them. Maybe you have access to Maple, Hickory, or Walnut trees for the same purpose. That’d be fun.
There are more than a few wood chip choices for smoking meats including peach and pecan. I’ve used both and you would be surprised to learn the smoke didn’t taste like peaches or pecans.
I’m a fan of the hardwoods. Maple and Hickory are my current favorites. They offer flavor and I don’t have to pretend I taste something that’s just not there.
7) Is a glass door an advantage?
Smoke is a messy business.
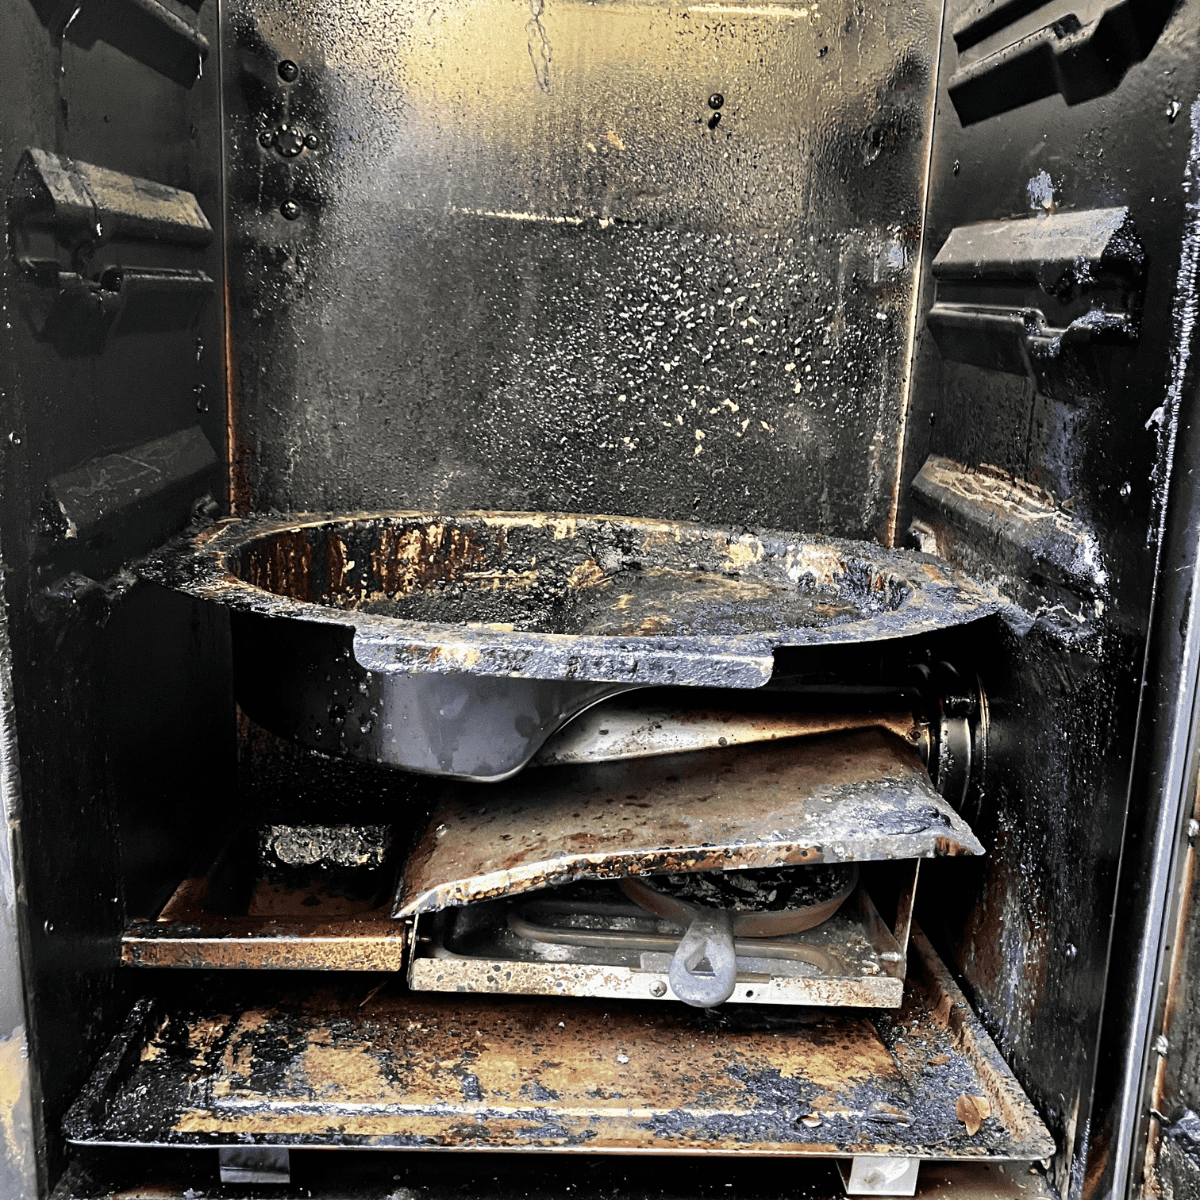
There are lots of compounds in smoke and some of them will cover the inside of your smoker, and the food being smoked.
During a smoke, it can be difficult to see inside if the cabinet is full of smoke. Secondly, those compounds can coat the window making it difficult to view what’s going on. Think of those glass fireplace doors that get covered with soot and creosote and more even before the first fire is finished.
I wondered about the glass being a poor insulator for a smoker. A quick check of the forums seems to suggest that, although this could be wrong, the glass doesn’t really allow for a decrease in smoker temperature. The chief issue raised was how the door would become too covered with smoky bits to see anything.
I suppose the biggest concern for a glass door is breakage. In the backyard with some activity happening, especially kids and pets, accidents can happen. If the door breaks, there’s the risk of glass on the food and the absolute end to finishing the smoking.
8) Plan resting time into your calculations
Alain Ducasse, the multi-Michelin-starred French chef says a steak should rest half as long as it took to cook it.
Some pitmasters say a pork butt or brisket should rest two to four hours after smoking.
That’s a long time. It’s worth every second.
Is it necessary? No.
Will you notice the difference? Yes.
That steak Ducasse mentioned needs time for the juices to redistribute. That steak is wee compared to a brisket. That brisket or pork butt needs far more time to allow the juices to distribute. It also aids in redistributing moisture through the meat making a more uniformly tender finished product.
This resting idea, seemingly excessive time, works for grilled steaks, too. Especially tri-tip. I wrap mine in foil, then place it in a zip-top baggie and then another in case of leaks. Keep out as much air as easily possible. Wrap that whole package in a couple of kitchen towels and let it rest for 30 minutes.
No kidding.
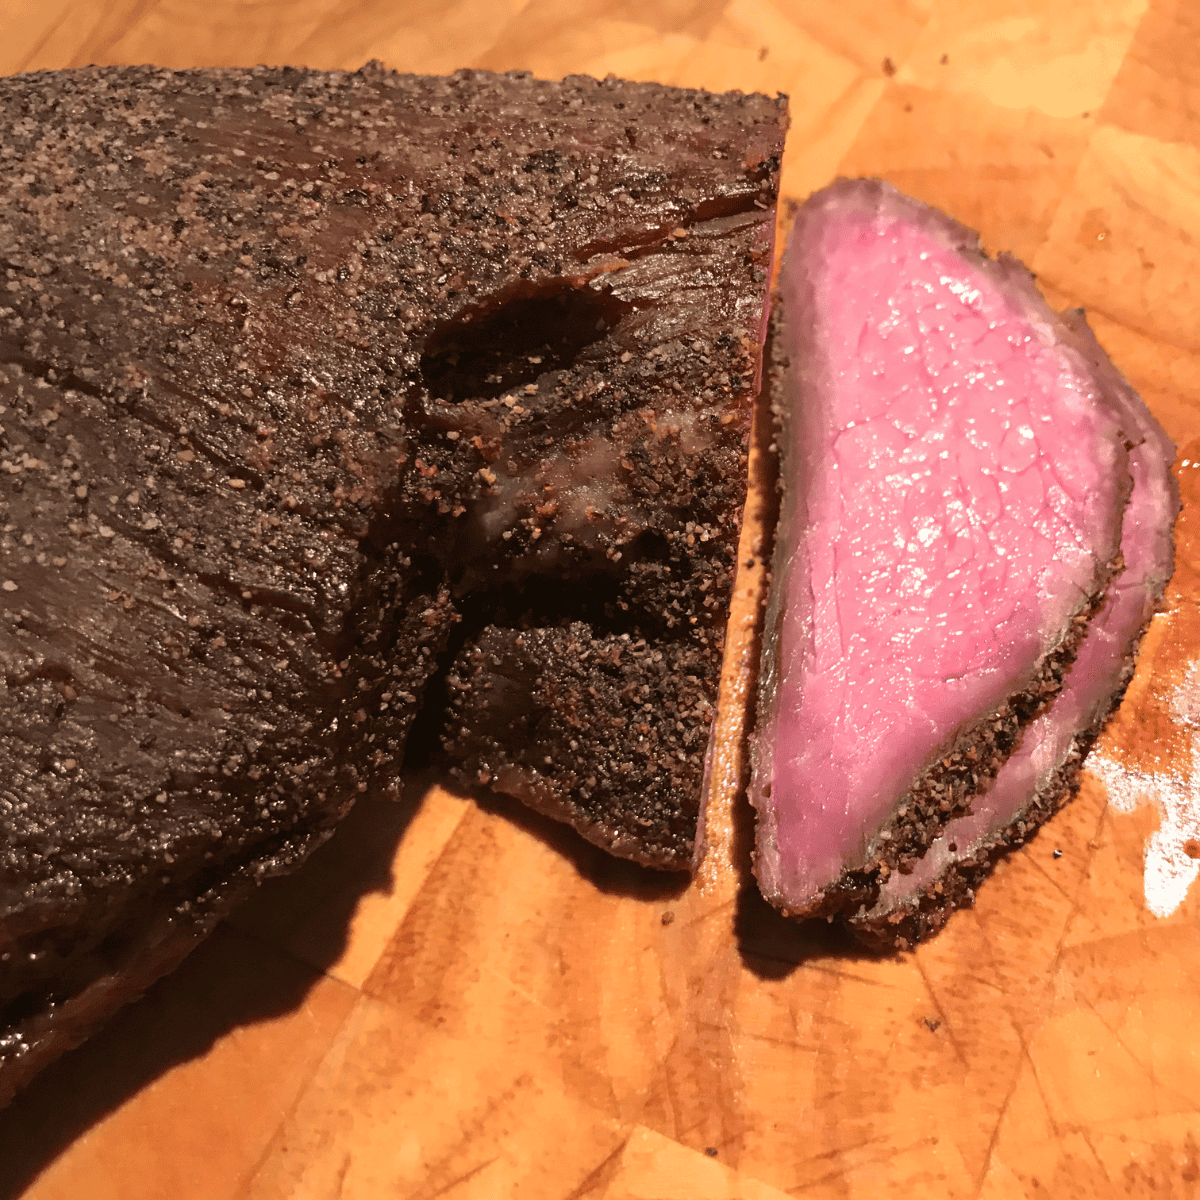
You’ll get a baggie full of amazing juice which is perfectly suitable for a shot for the cook. You’ll also get the most tender tri-tip you’ve ever made, smoked or grilled, and no to nearly no juices on the cutting board.
9) Temperature matters so get a thermometer
Various types of meat require specific temperatures for doneness.
20 minutes per pound is useful for rough approximations. To get more specific, we need a thermometer.
We have several options and all of them are of some version of the instant-read kind.
The first is an oven-proof thermometer you put in the meat before you put it in the smoker. The chief advantage this has is the thermometer stays in place. No holes need to be made to risk losing those precious juices inside as we check the temperature.
The next is the one that makes a hole. Digital instant-read thermometers are dandy. I like them far more than the analog kind (ironic, I know).
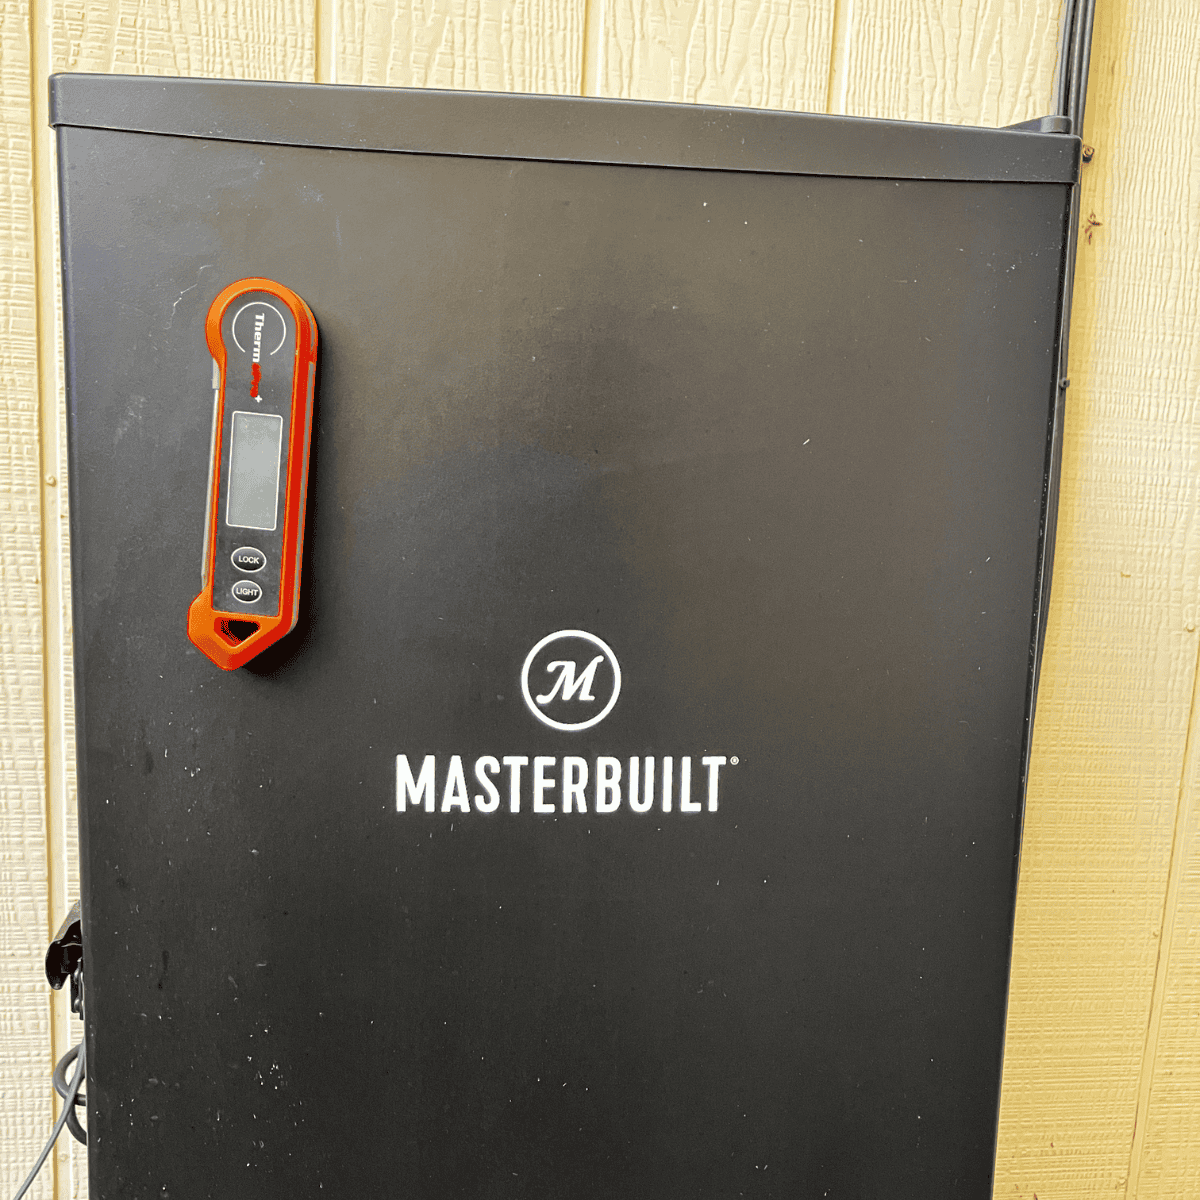
The remaining option is spendy and has cool tech. It’s a probe thermometer that connects to a programable monitor. Some, this one, can read 4 different projects at the same time. The advantage of probing once remains. The alarm that goes off at the pre-determined temperature is handy.
Oven-proof thermometers or wired probes can be left in the meat while it rests. That ensures the least amount of liquid seeps out.
10) Have a sturdy table nearby to place the rack when you check it.
There’s a saying among smokemasters that goes if you’re looking, you’re not cooking.
Sometimes you just have to open the smoker. A brief open and close won’t harm anything.
If you are like me and only have the instant read probe that isn’t melt-proof, you have to check your butt. And to do that, I need to get the rack out swiftly and close the smoker. Now I have this hot rack in my hand. I use the open grill as my table. It’s immensely handy and can handle the heat and mess.
If you don’t have a grill to use as a table, finding something that is sturdy and can handle the heat and mess is going to be a big help.
Some pitmasters rest their meat then brush on a sauce and return the meat to the smoker. If that might be you, a table is useful.
Some folks want to stage their proteins. Shrimp will cook quickly, and having a place to stage more protein, or vegetables like corn on the cob, is a good way to take the stress out of that part of the smoke.
I like to keep my tools organized for easy reach. That grill also serves as a place to keep my kitchen forks and hot pads. A table has a way of making itself useful.
Smoking meat isn’t difficult. With some expectation of what’s needed, it is even easier. It’ll take longer than you think when you add the resting time. The results are worth the wait. I hope you enjoy your smoker.
Let me know down in the comments your favorite tips and tricks.


Buy the accessory smoke box, puts out way more. The tube method that comes with it, doesn’t start smoking til around 240
With the accessory smoker box, almost always going with 225
I saw a blog page where a guy made the smoking portion out of a metal mailbox and ran a vent tube to the smoker. Still used the heat of the smoker to cook but got much better smoke from the mailbox. Pretty clever idea. That would also be perfect for cold smoking since the Masterbuilt smoker could be left turned off.
The comment you made about rain and digital controls reminded me that I got my MasterBuilt free from a friend that left it where rain got at it and it would no longer work. I took it home and dismantled it and dried it with a hair dryer. That was several years ago and it is still working.
That’s a great idea. Also great that it’s still working.
Seemed so critical I wonder why you would ever use it again? To each his own, we have enjoyed ours…..
Really great info as have lot of trouble with smoking meats, especially brisket. Am more hopeful now. I do have a question about using wood pellets in a Masterbuilt 40″ vertical propane smoker as cannot get a solid answer. Have a lot left over from a pellets grill i have but am selling. Just got vertical smoker. Thank you and have a great Blessed Thanksgiving
I used pellets in my Masterbuilt electric smoker last night and it worked better than chips. Where is the proof or evidence that you shouldn’t?