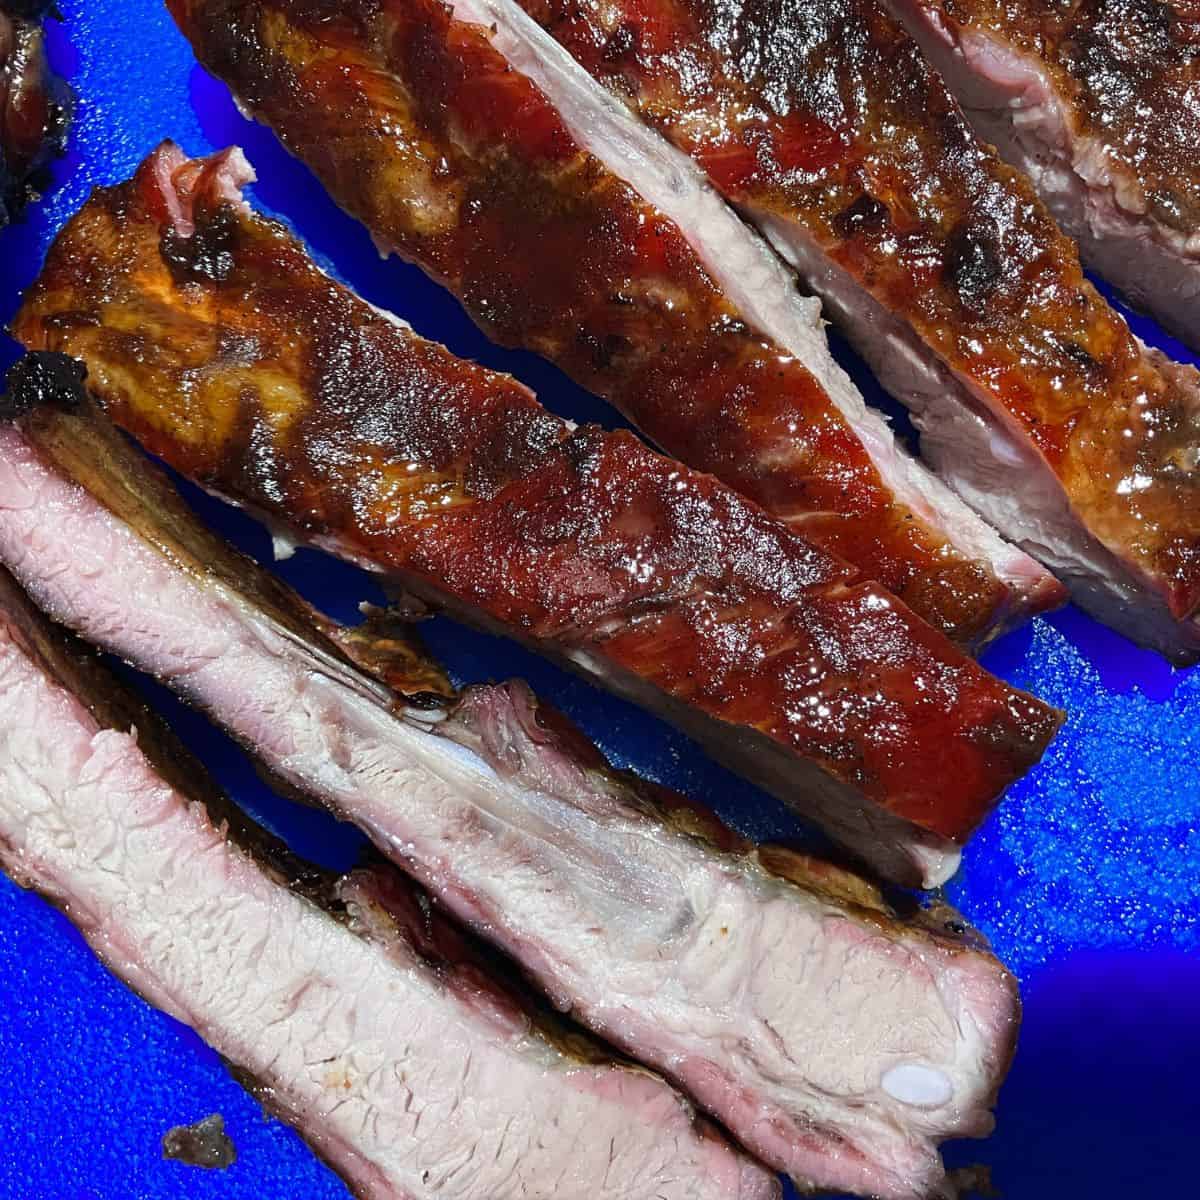
A slab of pork ribs is a sure way to test the skill of a pitmaster. Pork ribs, especially that fatty end, with their fall-off-the-bone smokiness and rich flavor from the brine, are a culinary treat.
In this guide, you’ll learn how to make perfect, fall-off-the-bone pork ribs on a Masterbuilt (or any) smoker. We deviate from the norm by using a jerk brine that elevates the flavor and makes some seriously tender ribs in less time than using a rub.
Using a brine vs rub for smoked ribs
Most people use a dry rub and that’s a great way to get flavor on those ribs. Brines are also a good way to get flavor into the meat and increase the tenderness in less time. Brines and ribs seem to seldom go together. I’m not sure I know why that is since this was such an impressive result. The brining takes just 2 hours versus curing overnight with a rub.
Smoke Ribs Recipe Overview
- Portion size 8 ounces
- 2 to 3 and snacks
- 4 + hours. Add a resting time of 15 to 30 minutes to your plans.
Ingredients in Jerk Brined Pork Ribs
Jerk is pretty famous for flavor and heat. I left heat out of this brine so it would be suitable for spice-sensitive eaters. Feel free to add your preferred source of spice and as much as you can stand.
Keep in mind that the degree of flavor that remains after brining is substantially less than with a rub. The difficult part is determining how much less. Generally, I go heavy on spices to ensure the flavors from your brine shine through.
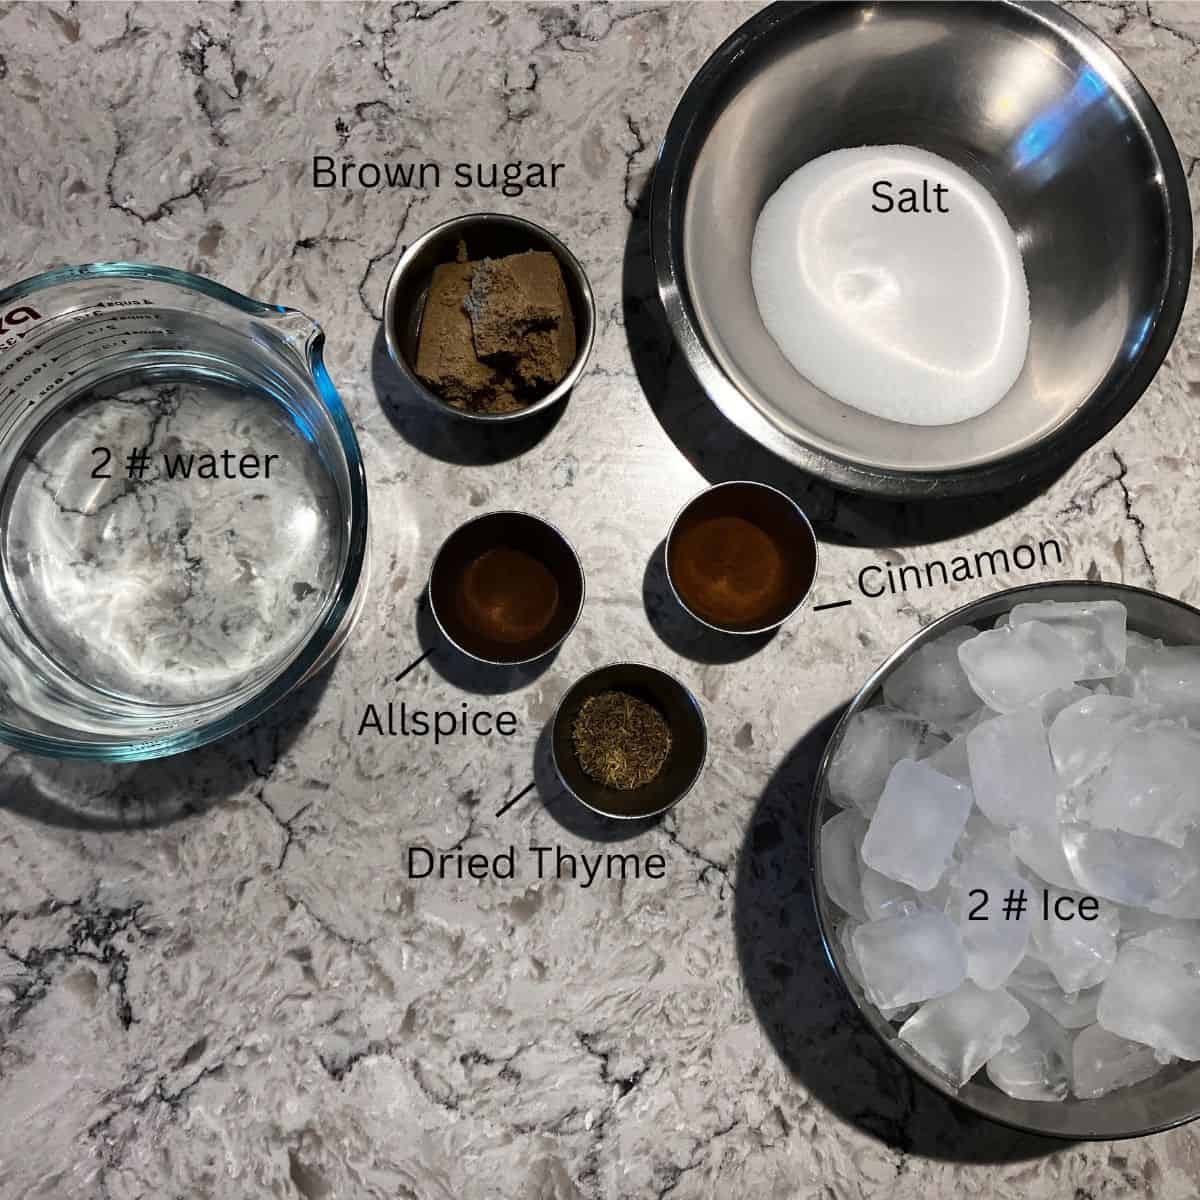
Brine Ingredients
- 133 grams of Salt
- 63 grams of Brown sugar
- 1 teaspoon of Ground Allspice
- 1.5 teaspoons of Ground Cinnamon
- 1 teaspoon of dried Thyme leaves
- 2 pounds of tap Water
- 2 pounds of Ice
Notes:
- Prepping in advance: Plain brines can stand for a week or more and not lose potency. Flavored brines will lose potency quickly. I made my brine the same day I used it. To get it from hot to cold I used ice as half the quantity of water. You can make spiced brine today for tomorrow and still get a nice flavor.
- Scaling the brine recipe: This brine is scalable. As it is, it was enough to brine a side of ribs. If you are doing two or three ribs, simply increase the quantities relative to the number of ribs you will brine.
- Absorption of the brine: Brining is lots of salt and some sugar. Seeing that much salt can be alarming. Meat tends to absorb about 10% of its weight in brine. A rib at 2 pounds will absorb about 3.2 ounces. If that feeds three people, that’s about an ounce of added brine. Now it is manageable.
Making the brine
- Combine and boil: Combine the spices, herb, salt, and sugar in a pan large enough to hold twice the water. Bring the water and ingredients to a boil, stirring occasionally to ensure the salt and sugar dissolve.
- Cool the brine: When the brine has boiled, remove it from the heat. Add all the ice and stir to cool and melt the ice. When the ice is melted, or mostly melted, and the brine is at least 70° F, it is ready to use.
Instructions for brining and smoking the ribs
- Remove the skin: Remove the silverskin from the back of the ribs. Here’s a helpful video showing how to do that.
- Prep the ribs: Cut the rib in at least half. Usually, there are 14 bones. Cut between 6 and 7, or 7 and 8 for the most uniform.
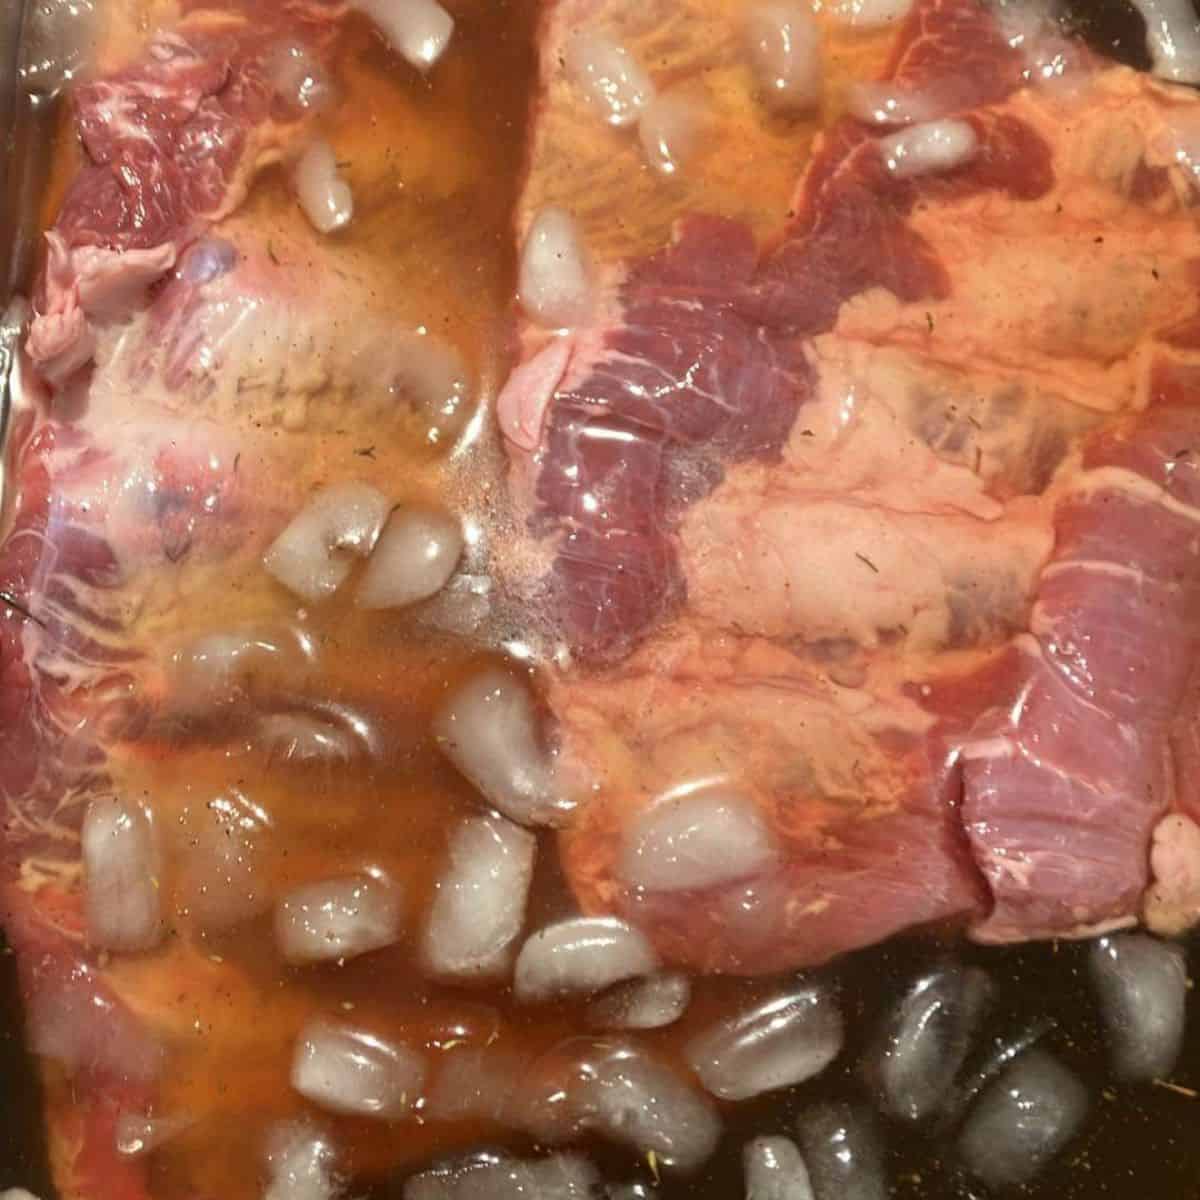
- Ready the brine: Add brine to your pan or container. I use a restaurant-style 4” half hotel pan.
- Brine the ribs: Place the ribs meat side down in the brine. Cover and chill for 2 hours. 30 minutes before the brining ends, start the smoker.
- Pat them dry: Remove the ribs. Pat dry with paper towels and place meat side up on your smoking rack
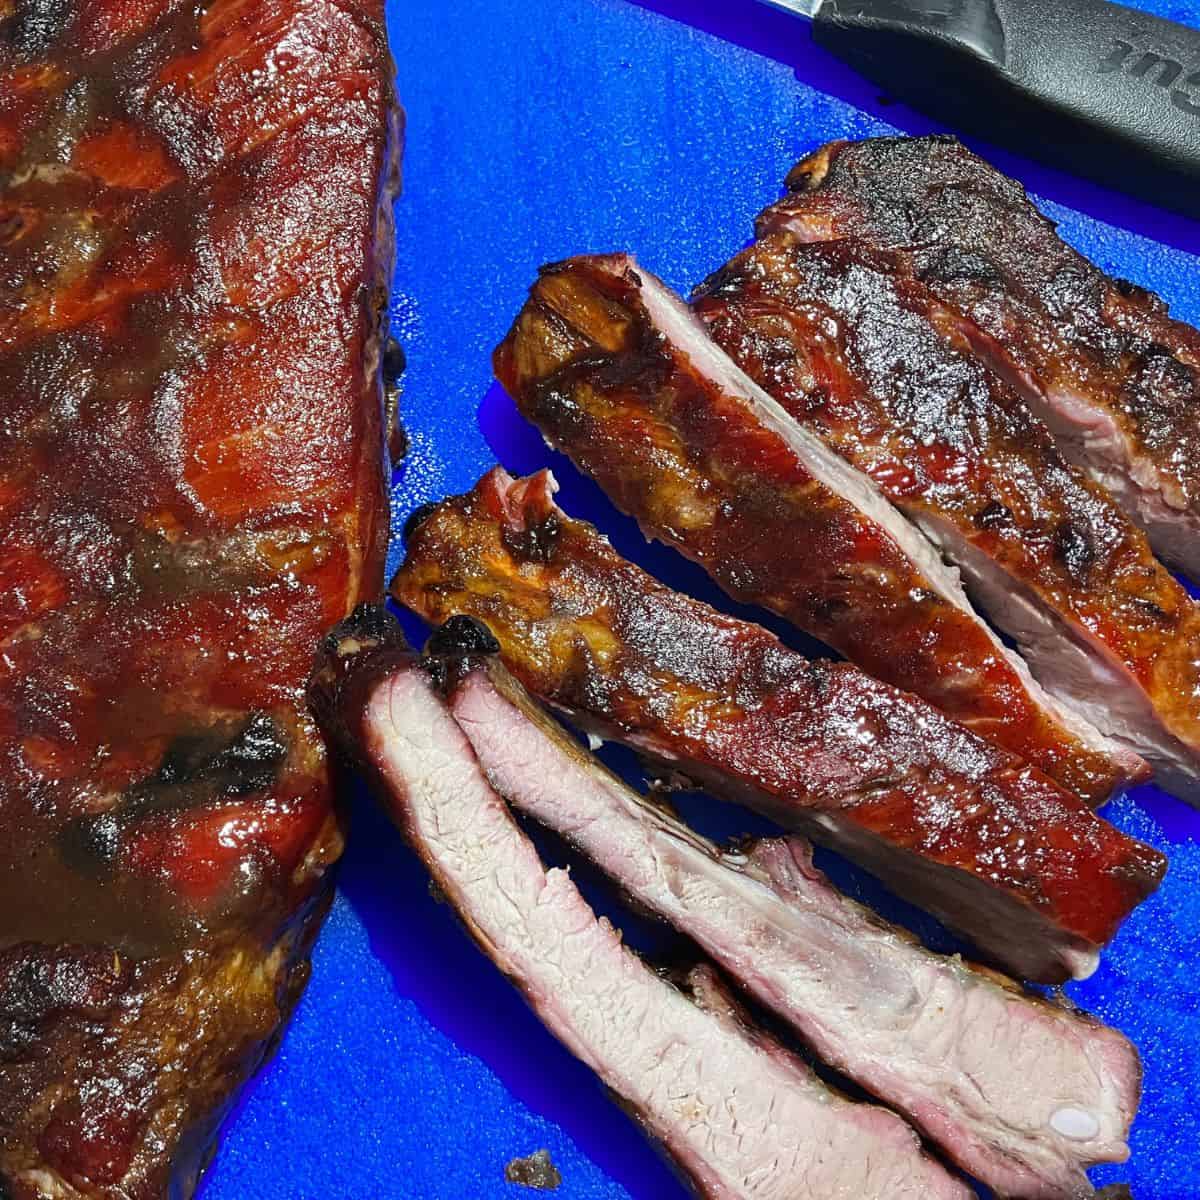
- Smoke the ribs: Smoke at 225° F for 4 hours, or until tender. The meat pulling away from the ribs is a sign that they are close to done. 198° F is generally a good temperature for ribs. The temperature will carry up a bit while they glaze and rest.
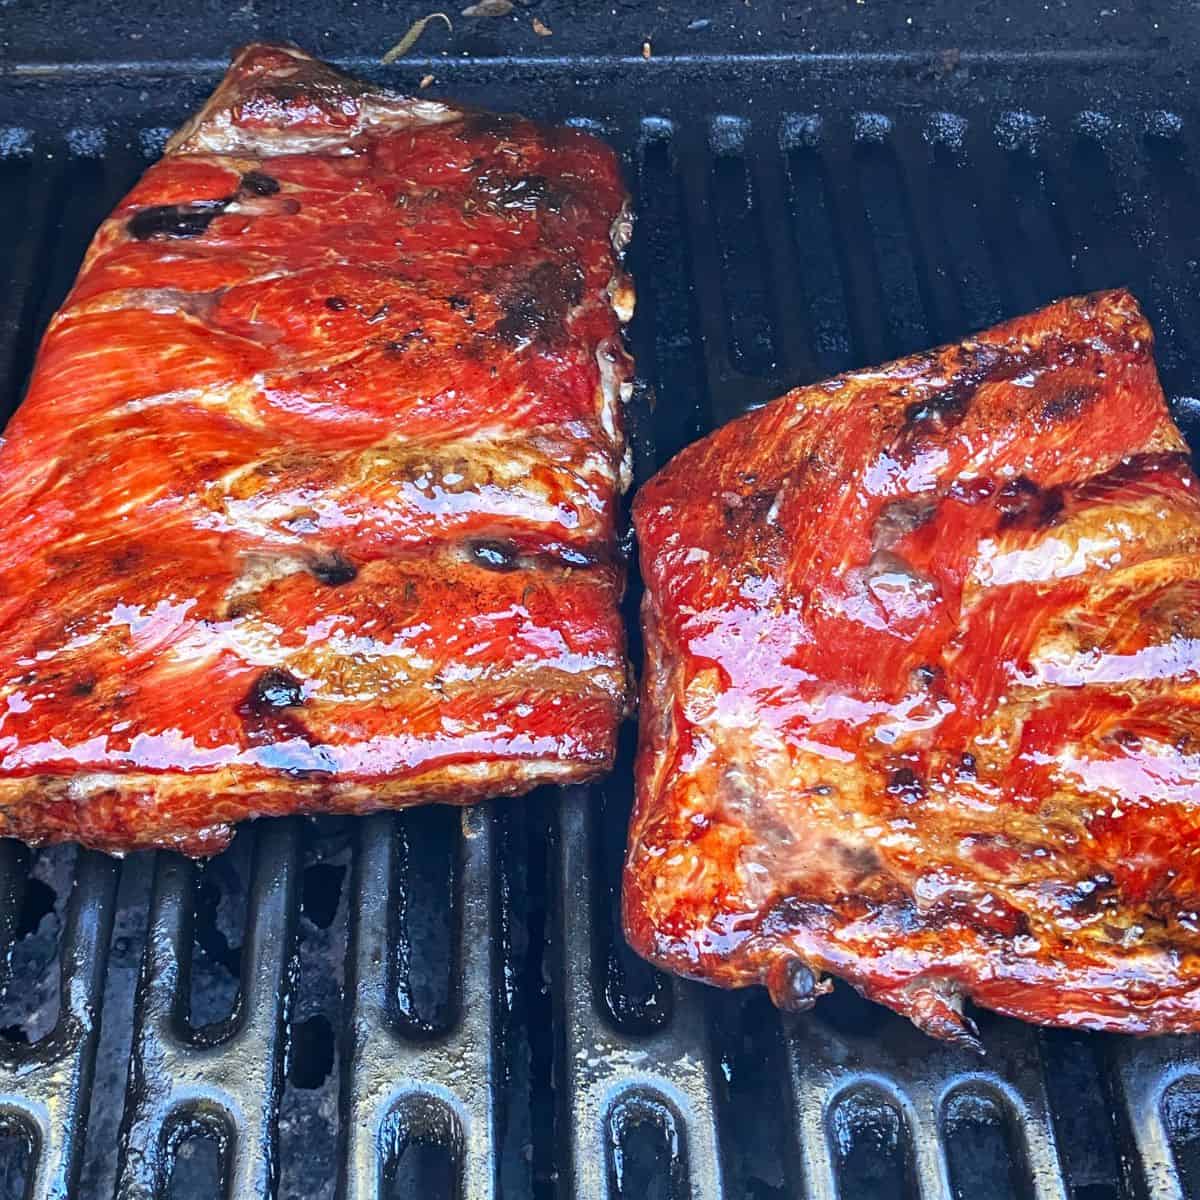
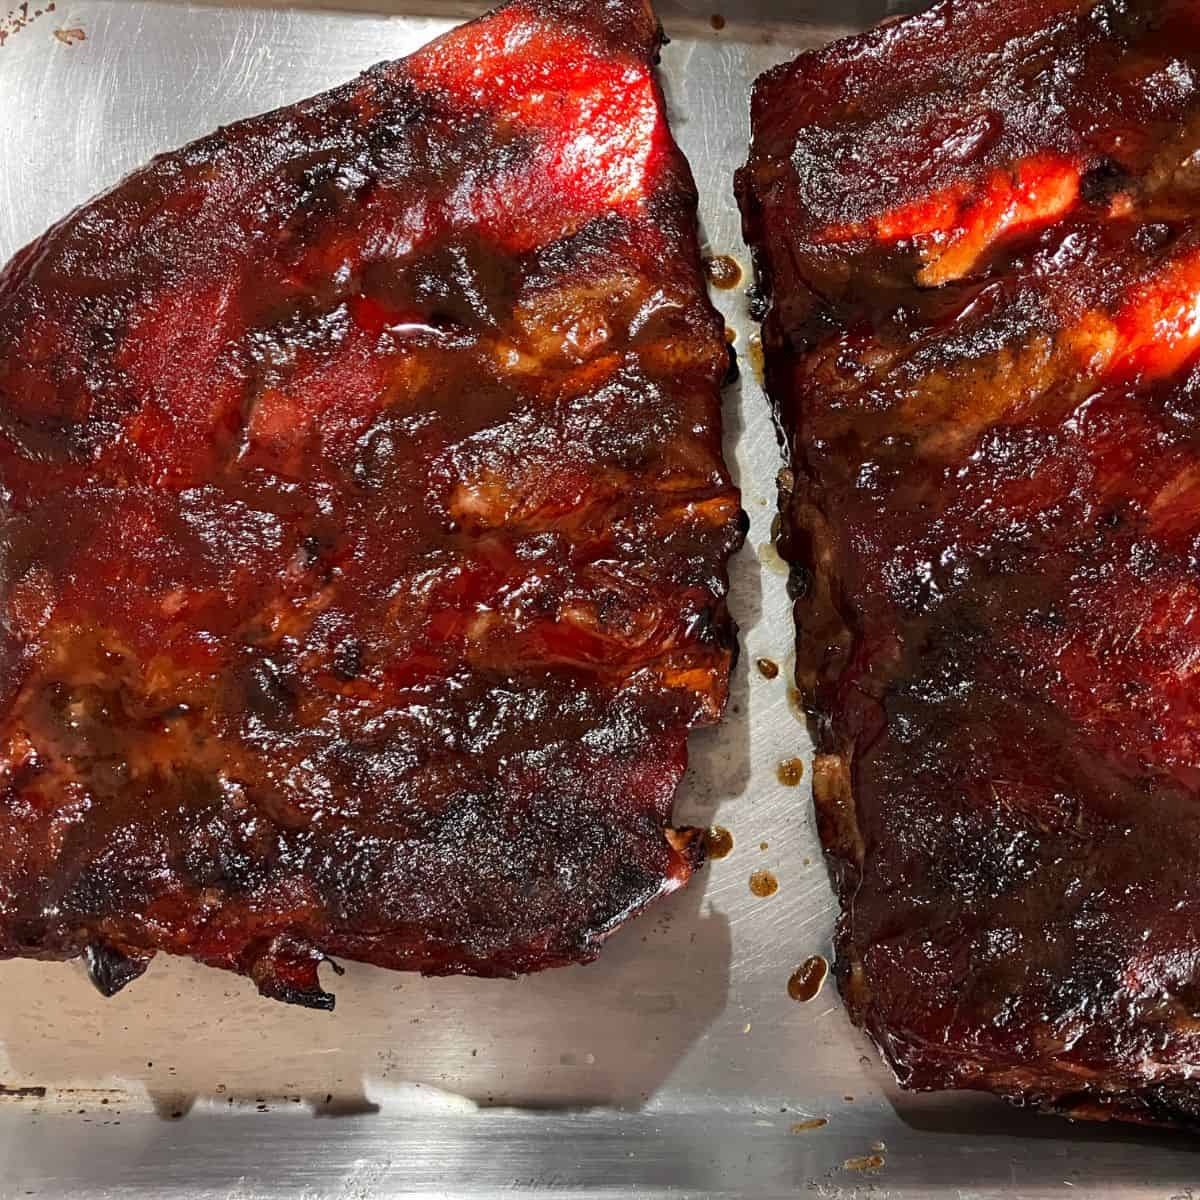
- Glaze the ribs: Glaze the ribs on a hot grill or under the broiler in your oven. If you are glazing them under the broiler, now is a good time to add sauce if that’s how you like your ribs.
- Cover and rest: Rest your glazed, sauced ribs for about 15 minutes, covering them with a foil tent. The tent will help hold in some heat without sticking to the surface and risk the crust sticking to the foil. If you did not sauce them, wrap them tightly in foil. Place the foil in a zip-top bag, and wrap that package in a kitchen towel or two to hold heat.
Variations and substitutions
- Spice things up: For Jamaican-appropriate heat, Scotch Bonnet peppers would add a kick. Scotch Bonnet sauces will also work.
- Other meats: If goat ribs are available, they might make an excellent choice for this dish. Chicken might work. I didn’t try chicken. Thinking through the process, the chicken might require longer grilling or glazing in the oven, not the broiler, after smoking to crisp the skin. Resting will also be important for both goat and chicken.
Tips and Tricks for Making Jerk Brined Pork Ribs
- Removing the silverskin allows the brine to penetrate the meat from both sides. You can add that silverskin to a stock if you are making on imminently. Otherwise, it has no culinary value.
- A basic brining time guideline is to brine meat for 1 hour per pound of meat. Exceeding that by a few minutes risks nothing. Exceeding that time by an hour, especially for thin meat, risks the reverse of why we brine. The meat starts to break down resulting in tough, dry meat. Moderation is the watchword and less is better than more. This article explains more about brining.
- A metal pan (plastic can work. Avoid glass) deep enough to hold the ribs and the brine is ideal. A couple of zip-top baggies, one inside the other, will work. It is best to store them in a bowl or something large enough to hold them just in case the bags leak. Store the brining meat on the bottom shelf of your refrigerator.
- If your ribs are not fully submerged, place a water-filled gallon-sized zip-top baggie on top of the ribs. This will help keep them in the brine so all the meat is brined. Watch the brine level with this method. The added water bag will displace the brine upward.
Smoked Pork Ribs
Ingredients
- Pork Ribs, minimum 4 per person
- 133 grams of Salt
- 63 grams of Brown sugar
- 1 teaspoon of Ground Allspice
- 1.5 teaspoons of Ground Cinnamon
- 1 teaspoon of dried Thyme leaves
- 2 pounds of tap Water
- 2 pounds of Ice
Instructions
Making the Brine
- Combine and boil: Combine the spices, herb, salt, and sugar in a pan large enough to hold twice the water. Bring the water and ingredients to a boil, stirring occasionally to ensure the salt and sugar dissolve.
- Cool the brine: When the brine has boiled, remove it from the heat. Add all the ice and stir to cool and melt the ice. When the ice is melted, or mostly melted, and the brine is at least 70° F, it is ready to use.
Smoking the ribs:
- Remove the skin: Remove the silverskin from the back of the ribs. Here’s a helpful video showing how to do that.
- Prep the ribs: Cut the rib in at least half. Usually, there are 14 bones. Cut between 6 and 7, or 7 and 8 for the most uniform.
- Ready the brine: Add brine to your pan or container. I use a restaurant-style 4” half hotel pan.
- Brine the ribs: Place the ribs meat side down in the brine. Cover and chill for 2 hours. 30 minutes before the brining ends, start the smoker.
- Pat them dry: Remove the ribs. Pat dry with paper towels and place meat side up on your smoking rack
- Smoke the ribs: Smoke at 225° F for 4 hours, or until tender. The meat pulling away from the ribs is a sign that they are close to done. 198° F is generally a good temperature for ribs. The temperature will carry up a bit while they glaze and rest.
- Glaze the ribs: Glaze the ribs on a hot grill or under the broiler in your oven. If you are glazing them under the broiler, now is a good time to add sauce if that’s how you like your ribs.
- Cover and rest: Rest your glazed, sauced ribs for about 15 minutes, covering them with a foil tent. The tent will help hold in some heat without sticking to the surface and risk the crust sticking to the foil. If you did not sauce them, wrap them tightly in foil. Place the foil in a zip-top bag, and wrap that package in a kitchen towel or two to hold heat.

