There’s nothing in the barbecue world like the Big Green Egg, which is why this iconic Kamado cooker with the famous heat retention is going stronger than ever a half-century after its owner brought the concept home to Atlanta from Japan.
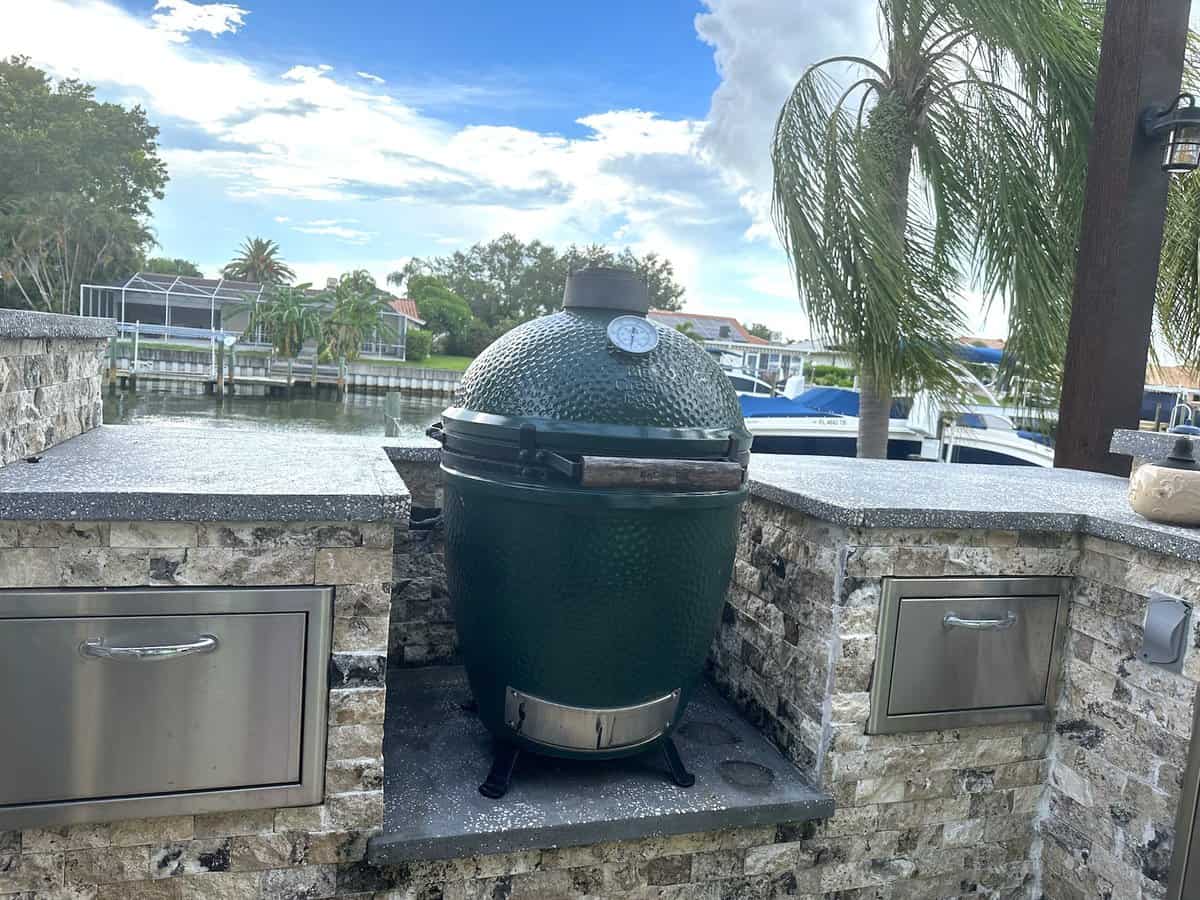
I joined Big Green Egg Nation this past year, and it has become the centerpiece of our back deck year-round in St. Petersburg, Florida.
It’s a smoker, a grill, a convection baking oven, and a full-fledged laboratory to research all kinds of BBQ food.
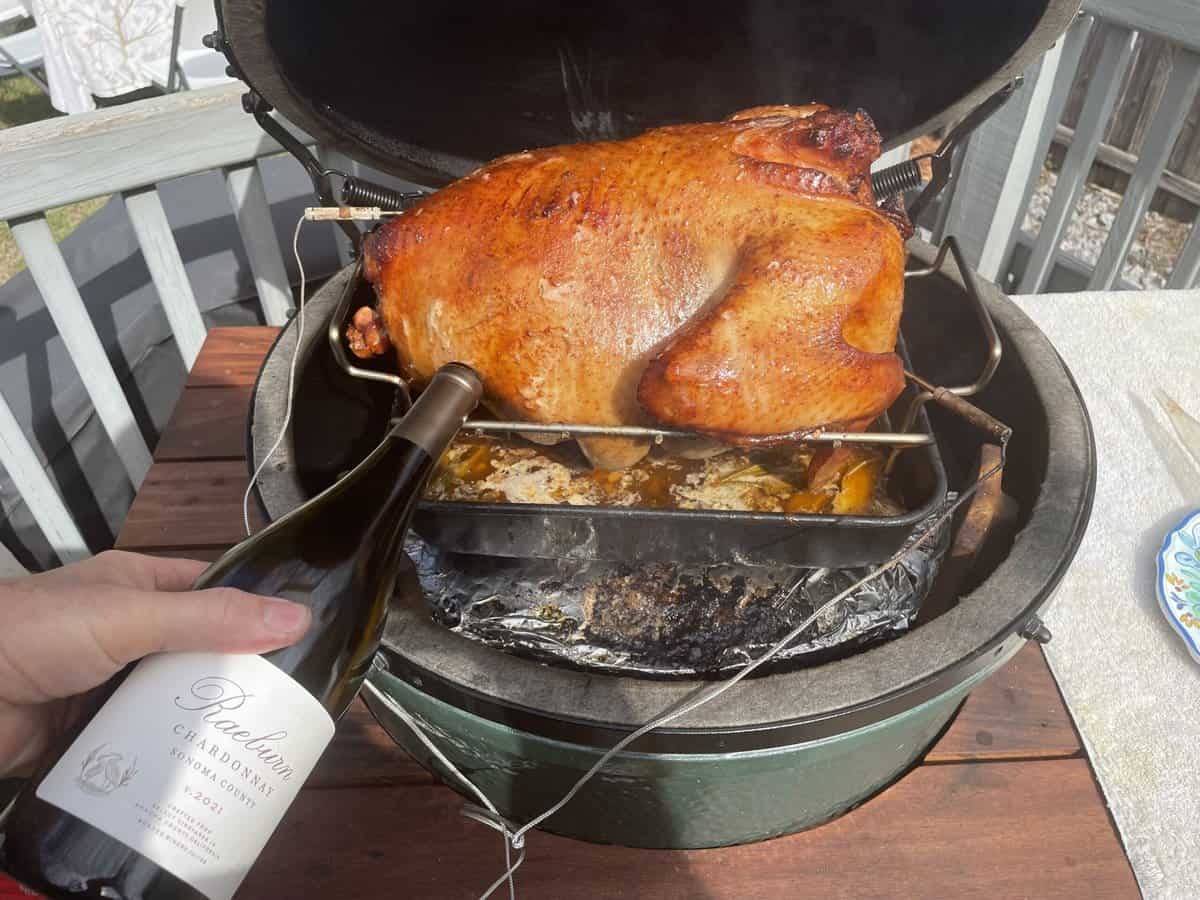
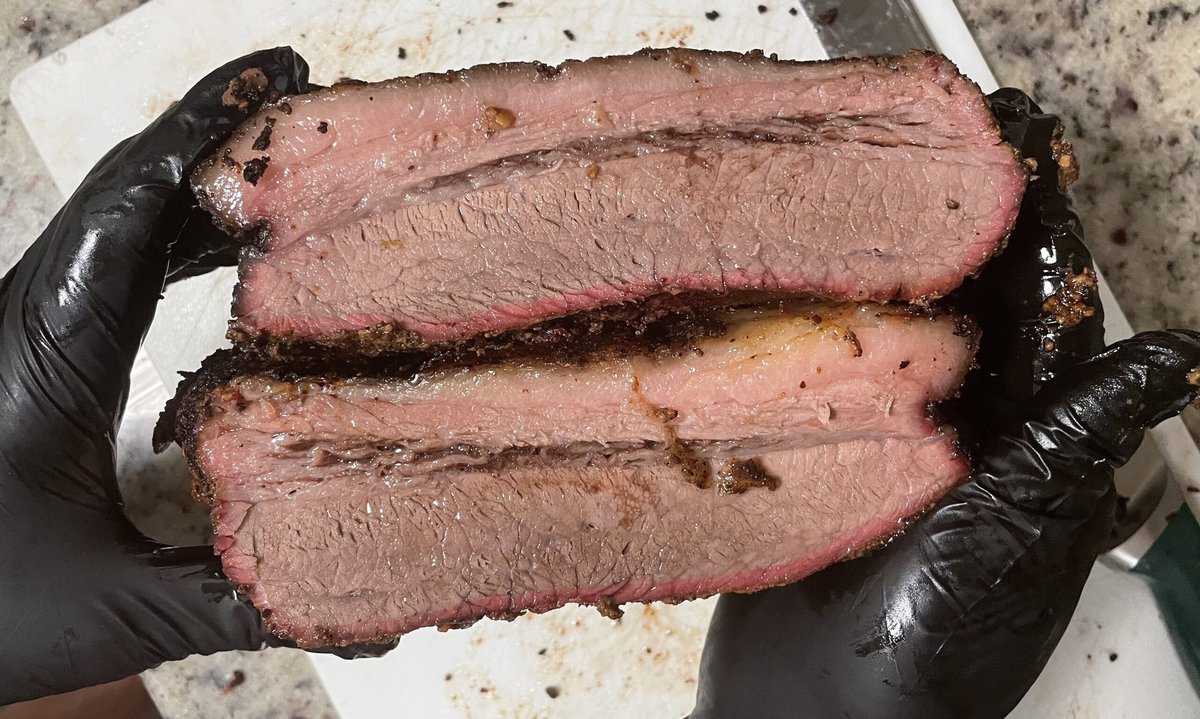
We’ve enjoyed the brisket of our lives after following Aaron Franklin’s Texas recipe, we hosted Thanksgiving to show how this juicy turkey beats a fryer or oven version, and this is just the beginning.
It doesn’t take long to compile a long and valuable list of tips after all these cooks, either through our own experiences or those we’ve gleaned from others, and it seemed worth sharing all of them here in one place.
So here it is, the most comprehensive Big Green Egg tip sheet anywhere.

We’re going to save you money, save you time, save you headaches, and maybe even save you from some dangerous situations. Most of all, we’re going to help you make great food.
Biggest Big Green Egg Tip List
1. Learn from your mistakes. There’s no better teacher than you.
2. Make sure you have the right size first. Think about how many people are typically going to be eating the food you smoke, grill or bake on your oval-shaped kamado cooker, then choose between a Mini, MiniMax, Small, Medium, Large, XL or 2XL.
3. Whatever you pay for your EGG, remember to also budget for accessories. That’s part of the deal. For example, these 12 EGGcessories.
4. Become friends with Big Green Egg certified dealers at your local store, such as my local Ace Hardware.
If you bought a new EGG, then you have the registration and those people will make sure you always get a free replacement on eligible items. They can also help with key questions.
5. Don’t watch too many YouTube videos. The old saying “too many cooks spoil the broth” is especially true in watching too many videos. A good video will help, but ultimately, it’s your own experience and you’ll make great dishes and you’ll also fail and learn from mistakes like they did.
6. Keep trying new things and experiment, like a reverse sear for a ribeye!
7. Don’t sit the EGG on a wooden surface, especially if you have a nesting table. If needed, use a thin cement tile instead. The hot EGG exterior could cause a fire if in contact with wood.
8. Keep your EGG at a safe distance from structures. If you normally keep it up against a deck railing, just pull it out several feet so it has safety space.
9. Never use the EGG indoors, in a garage, under a porch cover, etc.
10. Never skimp on the meat. You’re going all-out with a Big Green Egg, so buying cheap meat would be like buying a Baby Grand piano for someone who can’t play. Get Angus Prime for your brisket.
11. Find a heavy-duty cover. The “ultimate” one I bought at ACE Hardware for $70 or so is super flimsy, and it has pulled off in high winds two or three times, including once during a vacation so who knows how long it was exposed to elements.
12. Make sure your cover fits well. That same aforementioned over has an extended area that accommodates the rEGGulator top, but all that did was lift up the lower left side so it always exposes two legs of my table.
13. Cover your EGG the day after you use it, unless it’s bad weather, and then be absolutely certain it is cool.
14. Consider a clean burn once a year to restore the new look. Fill the fire box with lump and keep your draft doors open so it gets up to 600 or so.
15. There’s a good chance you will melt your original gasket if you do a clean burn, but the upside is you will have to replace the gasket and it will make cookouts even better. It’s not that hard.
16. Keep your gas grill tank filled just in case of a dire need, such as running out of fuel with no remaining bag. Or just to complement your existing cookout to increase food volume.
17. Use your EGG in any weather, snow, and ice, or a beautiful summer day. It’s the hardiest outdoor food-cooking device on the planet.
18. Always back out your timing. Know when you will feed your guests, then work it out backward so you know exactly when to start food prep hours earlier. You’re going to get up at the crack of dawn if you’re making a big brisket for supper.
19. Cast iron is good on a Big Green Egg, but enameled cast iron is not. High temperatures can ruin enamel.
20. One word: Spatchcock!

21. Get a box of 50 black grill gloves. Just remove the dominant hand when needed for safe handling. I go through two or three pairs per cook.
22. A night light is important so you see what you’re cooking after the sun sets. Be prepared.
23. Don’t inject meat with cold fluids. It will just lengthen the cooking process.
24. Cover your ConvEGGtor ceramic plate setter in aluminum foil. It’s one of those must-have accessories, and this will keep it looking like new. Just remember to replace the foil for your next cookout, so you don’t reheat those old fixins.
25. Or use a round aluminum drip pan that is about the same circumference as your ConvEGGtor, anyway.
26. Place one of the three ConvEGGtor legs in line with the temperature gauge, so you won’t have direct heat shooting up the side and making the gauge read hotter than the grid really is.
27. Burp your EGG a few times by slightly lifting and closing the dome, or feel the whoosh. I had it happen once during a panicky moment even after repeated warnings by others.
28. Never open the draft door screen except to clean the ashes. Sparks can fly out.
29. Never look down into the chimney, for obvious reasons.
30. Go vertical! The EGGspander is kind of expensive, but it does allow you to elevate layers so you can cook more food. There are 35 different setup combinations.
31. Flip and rotate your turkey. I learned on Thanksgiving that if you smoke a 20-pounder for 5-6 hours, the bottom side which is one or two inches from your roasting pan liquids will be puffy and moist. That was so uneven from the beautifully dark golden top, so with an hour to go I flipped it and it came out great.
32. Don’t overbaste. I followed a video that said to baste every 30 minutes after the first hour, and what happens is you have your EGG open for an unusually long time.
Basting takes a little bit, and sometimes the plastic tube gets clogged from the liquified veggies in your roasting pan. After four hours of doing this, my fire went out.
33. Don’t ever get into a position like that where you have to build a new fire deep into a smoke. That Thanksgiving turkey was the only such occasion for yours truly. It meant I had to remove a hot and juicy bird very carefully, then remove the rack and pan, and then remove the red-hot convEGGtor.
34. Make sure you have fire gloves, withstanding about 950 degrees.
35. Organize space in the area around your EGG so you always have some emergency room for things like that. And not just for emergency needs, but for actions during and after your cook, such as wrapping a brisket. You don’t want the kitchen to be an answer for everything so keep space around you open.
36. Add a rain cover. The newest BGE rEGGulator model includes a hole where the rain cover goes, and that’s handy if you’re barbecuing in a little rain.
I have the old daisy wheel top, and so far I have had a few adventures with late-afternoon Florida rain that slowed my progress.
37. Wrap brisket in pink parchment paper, especially briskets when they are ready for the wrap or the “Texas crutch” stage to get through the stall.
38. Spritz, spritz, spritz.
39. The handheld meat thermometer probe is gospel. Cooking probes simply tell you when to break out that all-important device for checking all key spots.

40. Go by grid cooking temperature. The outside gauge measures the dome space. It’s wise to have a probe that clips or sits on the cooking grid.
41. Calibrate your thermometer. This helps ensure what you are looking at outside is about the same as the grid.
42. Rotate your gauge during low and slow. If you’re rocking 230 for a lengthy time, then turn the dial so that 230 points straight up. That way you can just peep out your window and see the arrow is up for confirmation.
43. Put hot water in your drip pan so you don’t lengthen the cooking process.
44. Make three wads of aluminum foil, smash them down like a burger, and then put those between the convEGGtor and your water pan. It’s especially important if you put aromatic veggies in the pan so that they won’t be scorched.
45. Add hot water to your drip pan after it’s placed, not before. I made the mistake once of filling an aluminum pan with hot water in the kitchen and then trying to put it in place. The fire was hot, and first I had to lift the ceramic grid onto a separate ready surface.
Then I set the pan on top of those three foil wads, and when I put the grid back on I realized the pan was too tall. Bad time for this error, and flames started racing up the sides. I had to smash down the corners of the aluminum pan to make it fit, so I was literally playing with fire that time.
46. Make sure your drip pan is the right fit. See above.
47. Make note of these 11 tips for cleaning your Big Green Egg.
48. Brush the grid after each use. A double scrubber like this is the best bet so you can push hard on the surface.
49. After a grilling session during which grease has dripped onto the charcoal, do that grid brushing but then also the dome and let the charcoal burn for about 10 minutes before closing the top and bottom vents. This will burn off the grease or marinade and any leftover food, so you can start the next cooking session with clean charcoal.
50. Clean ash before the next use, to ensure perfect air flow through the fire grate.
51. Scoop most of the ash first with your gloved hand. This saves a lot of time on using the ash tool, which is handy for the buildup right inside the draft door.
52. Don’t throw away the ash unless you have to. Put it in your garden as fertilizer instead.
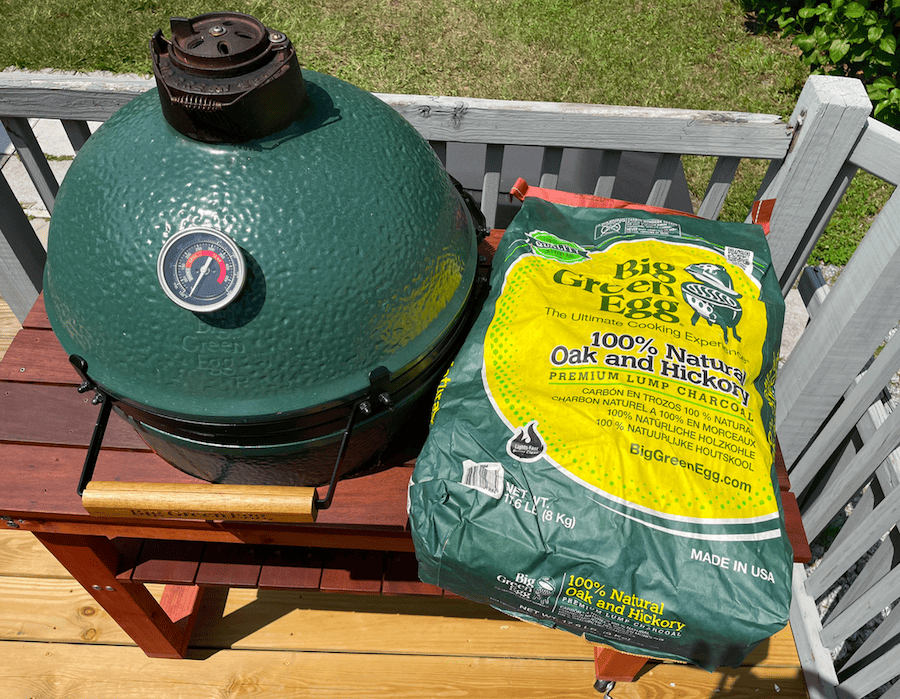
53. Use high-quality, large natural lump coals that burn clean and long. Here is our look at the 10 best charcoal brands for cookouts.
54. Keep lump coals and wood dry. If they’re in a humid environment, it will take longer to cook.
55. Fill the firebox to the top rim if you are smoking, or less if you are grilling.
56. Take care to leave holes uncovered. Also, avoid off-brand fire grates with a million holes because all that will do is suck in far more oxygen and thus burn out your fire before your smoked brisket is done.
57. Don’t waste money on expensive lighters. I originally bought a lighter at Ace for about $60, and took it back the next day when I realized I only need a cheap Bic lighter from Publix.
58. Three SpeediLight cubes and you’re good to go. Put some larger lumps over them after they get going.
59. Start your fire on the bottom if possible. Some people like to start the fire on top of the pile, but oxygen from beneath will build an efficient fire thanks to the open draft door.
60. Never use lighter fluid or briquette charcoal. They contain chemicals and the residue will seep into the ceramics and give you a bad stink that lasts.
61. Choose appropriate wood smoke, such as pecan with turkey or post oak with brisket.

62. Add any wood chunks or chips after your fire is ready, not before. You don’t want to waste all that good smoke.
63. No need to soak wood chips. It will just slow your cooking experience.
64. Chips vs. chunks: Chips burn faster, so if you’re doing low and slow use chunks.
65. Place three or four large chunks around the rim of your hot fire, not in the center. Let them gradually become a part of your cookout.
66. Here’s another approach, courtesy of Big Green Egg: “Pour a layer of charcoal into the Fire Box, then sprinkle a handful of wood chips over the top. Add another layer of charcoal and another handful of chips, alternating until the layers reach the top of the Fire Box. This should provide enough heat and wood smoke to last for a long period of smoking – at 225° to 275°F.”
67. Collect those small bits of lump coal left at the bottom of your bag and set those aside in a separate bag. When it’s time to do that clean burn we talked about earlier, use these so they won’t be wasted.
68. Let your ceramics heat up with your EGG. Adding cold ceramics (ie ConvEGGtor or ceramic grate) to a hot fire will cool it.
69. Let the fire build for 10 minutes after starting. Then you are in a position to establish a fixed temperature.
70. Keep the top and bottom openings slightly ajar if you are going for low and slow smoke at around 230 degrees, and open them more for higher target temps.
71. Avoid overheating your EGG at startup if you’re doing low-and-slow. It wastes cooking fuel while waiting for it to cool down.
72. Wait for clean smoke. Look for that thin blue stream of smoke coming out of the top. If you put your meat on when the smoke is still dirty, you will taste it afterward.
73. Be patient in learning temperature control. I thought I was a master of my EGG temperature control after five or six cookouts, but there was more to learn.
This is true of any Traeger wood pellet grill or PitBoss smoker or Weber kettle grill, of course, but EGG temperature is a science.
74. Get one of these 10 thermometers. FlameBoss is considered the gold standard for pit masters, but you’ll be just fine with a wireless dual probe set.
The main thing is to have at least two probes. You want one probe for the point and one for the flat if you’re smoking a brisket, and you want one for the breast and one for the thigh if you’re making a turkey.
75. There’s a trick for urgently lowering the temperature when it’s way too high and vent adjustments are not enough. Just add more charcoal. The downside is having to remove any accessories while they’re hot. This is a fairly desperate measure, but it’s a good last resort.
76. Caveman or Cowboy? Here are mouth-watering tips for trying both ways of making sizzling steaks.
77. Use the postfire to your advantage. When all the good stuff is pulled off and into the kitchen, you still have awesome coals wanting to make something happen. It’s a good time to put on chicken breasts for the week ahead, to make chicken salads or chicken with rice and beans.
78. Add a MiniMax Big Green Egg for tailgating! Start your own tradition and take your Kamado cooker to the stadium parking lot next season.
79. Failure is not fatal. You can make a lot of mistakes during the course of a Big Green Egg smoker or grill cookout, and still finish with a perfect meal.
80. Don’t forget baking and vegetables. The Big Green Egg is too often just associated with meat. A pizza stone can turn your cooker into a brick oven, and veggies complement the meal. Trust me, my wife is a vegetarian.
81. Use FireWire for kabobs. Instead of letting the skewers stick out through the side, these flexible skewers can be arranged in any shape to easily fit inside any sized Big Green Egg.
82. Take a look at these 10 fall recipes on the Big Green Egg. Wait, want more? Here are another 25 Big Green Egg recipes.
83. Hire a good photographer, like your significant other. You’re going to want to take a lot of pics and videos, and it can become silly and dangerous when there’s smoke and fire involved.
84. Use a good cooler for warming and make sure it’s large enough to hold a big brisket, turkey, or rack of ribs if needed. It’s always needed for briskets, where you want to wrap the brisket in a towel and slowly reduce the internal temp to 145 before serving.
85. Good cutlery is crucial. Briskets, for example, require two specific knives at the beginning and the end.
You’ll want a good boning knife to trim the fat first thing in the morning, and then at night when you’re slicing it in the kitchen, you’ll want the special brisket blade so you can just “pull slice” with one stroke.
86. No such need for pulled pork. Just use gloved fingers and squish as it’s super-tender. Don’t waste money on those meat-claw gadgets.
87. Reheat brisket leftovers back up to 145 and they’re good as new.
88. Rotate your rib sauces depending on the region you want to “visit” that day. Big Green Egg sells its own brand sauces for the main regions, or experiment with the limitless choices out there.
89. Barbecue sauce is great for wet ribs, but otherwise, less BBQ sauce is more. Only offer it on the side with brisket. Sonny’s Sweet will bring guaranteed compliments.
90. Use that extra space around your main item, especially if you don’t have an EGGspander.
Add some cookables along the periphery, whether it’s potatoes or burgers, or veggies. I learned as a boy on my parents’ boat that the Hibachi always needed sliced onions with a pat of butter and salt and pepper. They would munch those while waiting for the burgers, or just put them on the burgers.
91. Don’t overdo it. You don’t want to overload your grill, which can increase cooking time and decrease the smoke flavor.
92. Don’t overseason your food. Too much will decrease the incredible smoke flavor you’ve been working so hard to create.
For example, Aaron Franklin puts only salt and pepper on his briskets.
93. Cook with planks. It’s easy to overdo the red meat, not a great habit for a long life. Soak cedar or Adler wood planks and grill some salmon with indirect heat.
94. Don’t be a stranger while you’re cooking. Not even if you have a wireless probe with the remote monitor. That complacency could make you vulnerable if a sudden spark ignites.
95. Try some canned smoke. Here are some cans you just place around your coals.96. Here’s a tip about whether to choose a Kamado Joe ceramic cooker or a Big Green Egg, and we’ll throw in another comparison between a Traeger grill and the Big Green Egg.
97. Follow @BigGreenEgg on Instagram and Big Green Egg BBQers on Facebook and it will open up a community of like-minded Eggheads that makes cooking on kamado grill even more fun.
98. Invite neighbors who are already savoring your smoke. Treasure the moment and share the wealth. Feed the world.
99. And last but not least, the most famous BBQ tip of all: “If you’re lookin’, you ain’t cookin’.”

